Deleting a file or folder is nearly a daily activity for almost any computer user. But how many times have you accidentally deleted a file or folder that you shouldn’t have? Accidental deletion of files or folders is nothing new; in fact, we’ve all been there and done that. Deleting your files or folders is not the end of the world, and you can actually recover deleted files, folders and partitions in all likelihood. To recover deleted data, all you need is a powerful data recovery software and a little bit of know-how. Active Undelete is one such software, and here is how it can help you recover deleted data in Windows.
Features of Active Undelete
Recover Deleted Files and Folders: Being a data recovery software, Active Undelete can recover almost any deleted file given that the files are not overwritten. While recovering the deleted files, Active Undelete lets you filter files and folders and even shows you a preview of the file if supported.
Recover Deleted Partitions: Besides recovering individual files and folders, Active Undelete also lets you recover deleted partitions. This is pretty helpful if you’ve accidentally deleted a partition, which often happens while managing partitions or installing the operating system.
Recreate Corrupted RAID System: This may not be for everyone, but if you have a corrupted RAID system, then Active Undelete can virtually recreate it so that you can recover some, if not all, data.
Support for Multiple File Formats: The good thing about Active Undelete is that it supports several different file formats. This helps you to scan and recover specific file formats rather than all the files and folders.
Other Miscellaneous Tools: Along with all the tools that help you recover files, folders and partitions, Active Undelete has a few other miscellaneous tools like partition manager, disk image, disk editor, and file manager.
Installation and Usage
Though Active Undelete is a powerful data recovery software, it is very easy to use. Active Undelete comes in three different versions called Home, Pro, and Ultimate. If you want to try it out, the software has a demo version which is fully functional but has a limitation on file size that is being recovered.
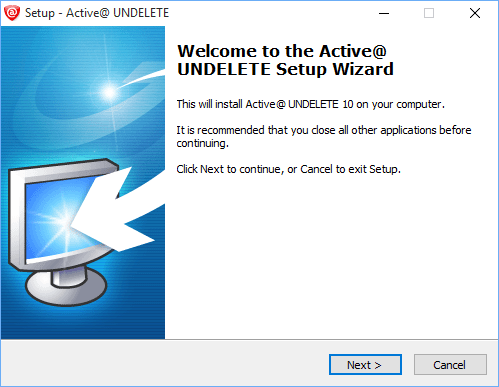
To start, download the Active Delete software from its official website and install it like any other Windows software.
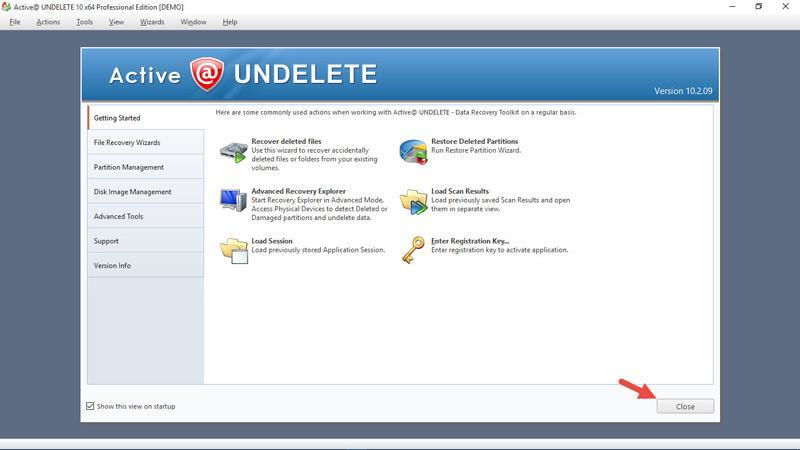
After installing the software, launch it from the Start menu. As you can see, the software greets you with a welcome screen that shows you a bunch of options that lets you recover data right of the bat.
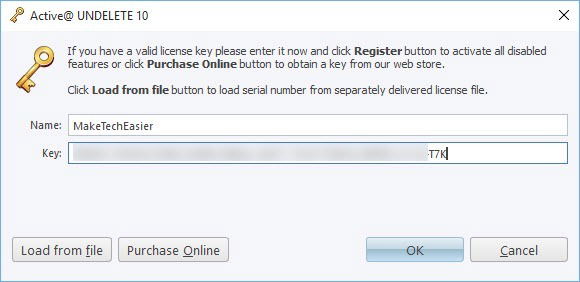
If you already have a registration key, close the welcome screen and select the “Enter Registration Key” option from the Help menu.

The above action will open the registration window. Enter the name and registration code and press the “Ok” button to complete the registration process.
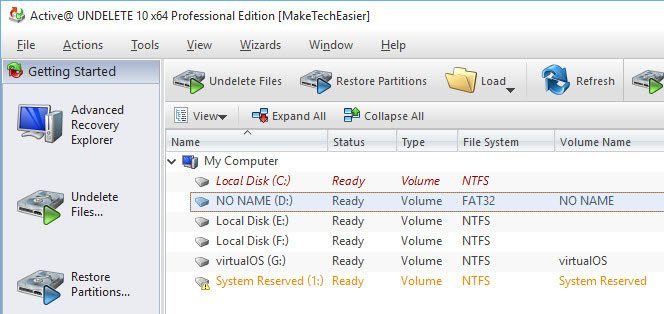
After completing the registration, Active Undelete will display all your system partitions on the home screen. Simply double click on the partition from which you want to recover the files. In my case I’m selecting my D drive, as I want to recover my deleted resume.
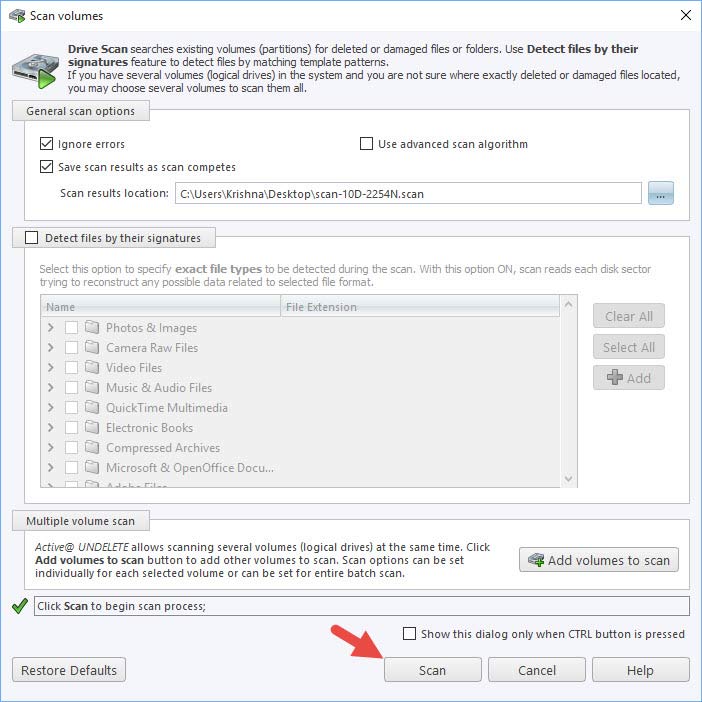
Once the Scan Volumes window has been opened, you can leave all the default options as is and click on the “Scan” button. However, if you only want to scan the drive for certain file formats like video or audio files, then select the “Detect files by their signatures” checkbox, and then select the file types before clicking the Scan button.
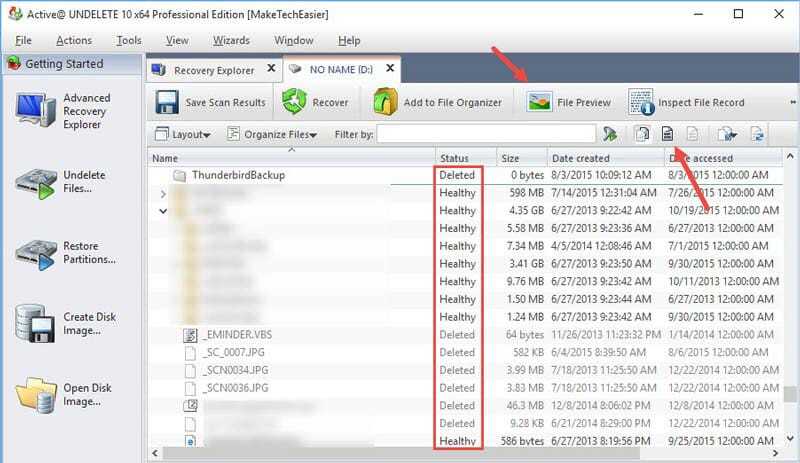
Once the scan has been completed, the software will show all the deleted files and folders along with the current files in the drive. The deleted files will have the status of “Deleted,” and current files will have a status of “Healthy.” You can actually filter those files using that little Filter icon on the top bar. Moreover, you can also preview the file you are recovering by clicking on the “Fire Preview” button appearing in the navigation bar.
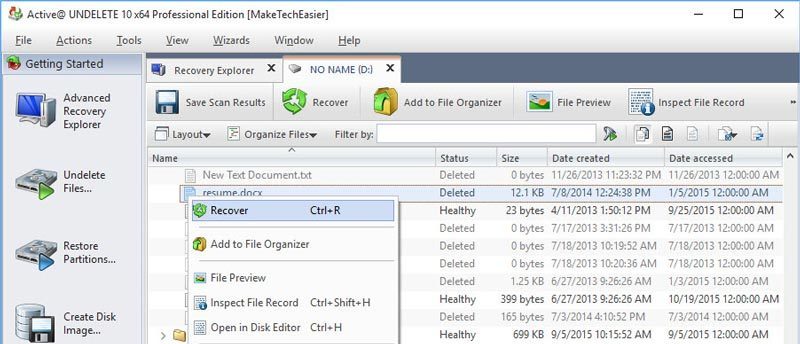
Find the file or folder you want to recover, right-click on it and then select the “Recover” option. If you want to recover multiple files, then select the files using the Ctrl button. Since I’m trying to recover my little resume file, that is what I’ve selected.
As soon as you’ve selected the Recovery option, Undelete will open a window where you have to select the destination folder to save the recovered files and folders. Just click on the browse button, select the destination folder and then click on the “Recover” button. Select any destination you want except the drive you are trying to recover.

With the above action, Active Undelete will recover the selected files and will save them to the previously selected destination folder.

Though I’ve only shown a part of what Undelete can do, the other recovery procedures are also similar to what I’ve shown above.
Conclusion
Accidental deletions may not happen every day, but it is handy to have dependable software like Active Undelete to save you. One of the best things about Active Undelete is that it shows you some quick how-to tutorials while you are performing the recovery actions. These tutorials are really helpful if you are a beginner. Since there is a free demo version, give the software a try, and see it fits your needs.
Vamsi is a tech and WordPress geek who enjoys writing how-to guides and messing with his computer and software in general. When not writing for MTE, he writes for he shares tips, tricks, and lifehacks on his own blog Stugon.
Subscribe to our newsletter!
Our latest tutorials delivered straight to your inbox
Sign up for all newsletters.
By signing up, you agree to our Privacy Policy and European users agree to the data transfer policy. We will not share your data and you can unsubscribe at any time. Subscribe
