The following steps show how to use Rufus to quickly create a bootable flash drive in Windows. Of all the available tools, Rufus, a free and open-source application, is one of the best. In fact, Rufus is one of the few necessary tools that every Windows user should have in their software catalog.
Tip: you can also use Rufus to format a USB drive in FAT32, which isn’t possible with the regular formatting tool in Windows 10 and 11.
Content
What Is a Bootable USB?
A bootable USB drive (or “Live USB”) refers to any USB hardware device whose file systems have been reformatted, enabling it to install an entire operating system. The bootable USB drive folder can be viewed in a File Explorer window and contains various setup files and preloaded commands. You can’t use a bootable USB to store normal text, image, music or video files unless you reformat it.
It is very difficult to find a CD/DVD ROM nowadays, so most people prefer to use a bootable USB drive instead to install an operating system or software edition. They’re lightweight and you can create clone images of bootable USB drives, which makes the data indestructible.
Use Rufus to Create a Bootable USB Drive
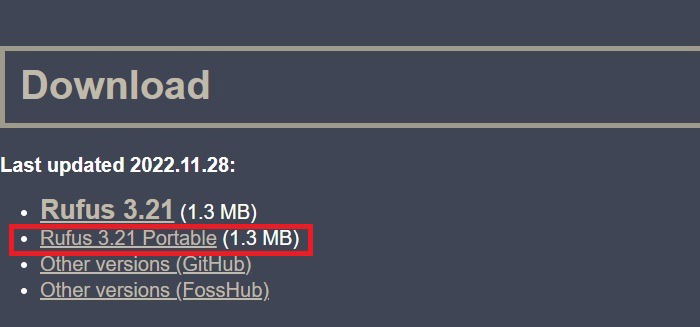
- Download Rufus if you haven’t already. Scroll down the page to where you can select the latest updated links or any older versions. Along with a regular installer, Rufus also comes in a portable variant. Download the portable version if you don’t want to install Rufus on your system. In this case, we are downloading the portable version. After downloading the .EXE file, install and open Rufus.
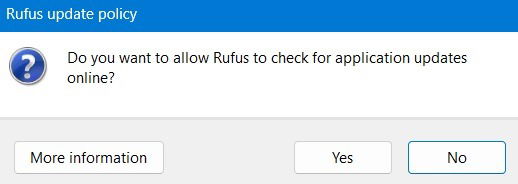
- You will get an alert asking whether you would like to allow Rufus to check for updates online. Click “Yes” to proceed.
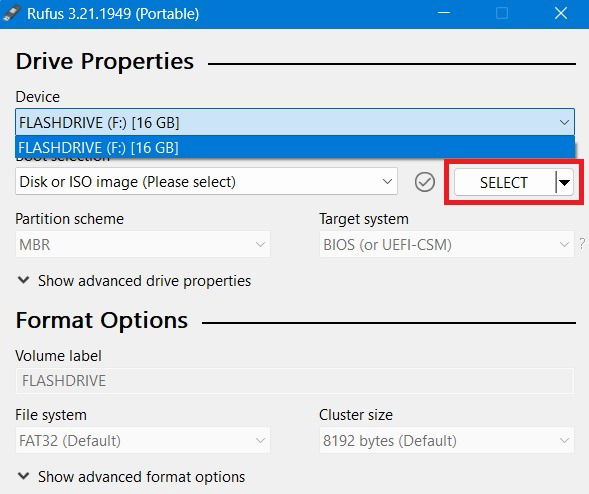
- Plug in the USB drive to instantly see it in the top drop-down menu in Rufus. Once you see the drive, click on the “Select” button.
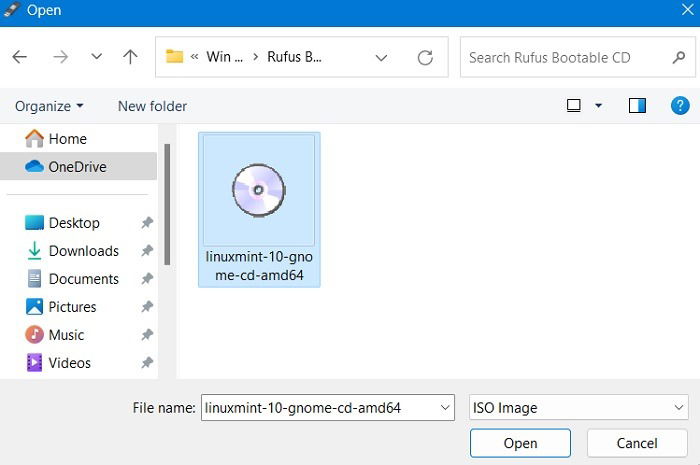
- In the Browse window menu, locate the folder where you stored your ISO file. Select it and click on the “Open” button. In this case, as we wanted to create a Linux Mint bootable USB drive, we are selecting the ISO.
Note: This tutorial assumes you already have the ISO file. If you don’t have the ISO file, you can download it from the developer website. Also, make sure the USB drive you are using is at least 8GB and that it has no important data in it.
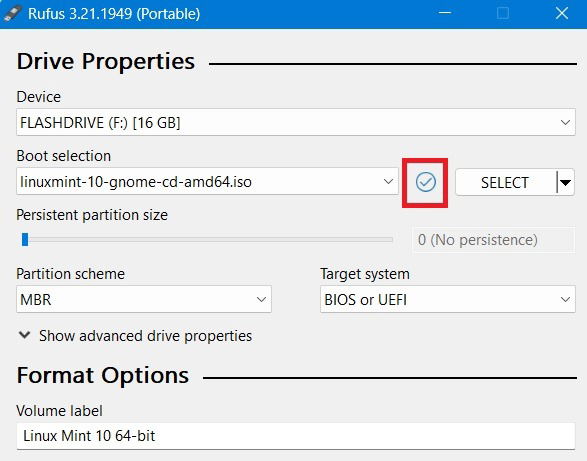
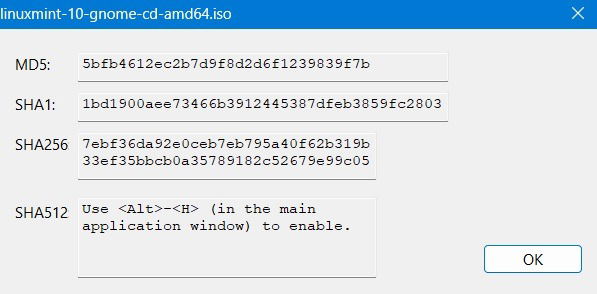
- Optional: click on the little “Check” icon next to the “Boot Selection” drop-down menu to compute and see the MD5, SHA1, and SHA256 checksums of the ISO file. This is used to verify whether the ISO file was tampered with previously.
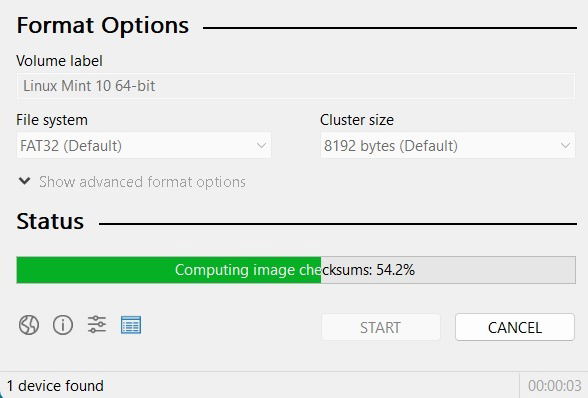
- Wait a few seconds for the computation to be over.
Good to know: Facing the exasperating infinite reboot loop problem in Windows? We show you how to fix it.
- If no red flags show up, it means the operating system/software edition is safe to use on your PC.
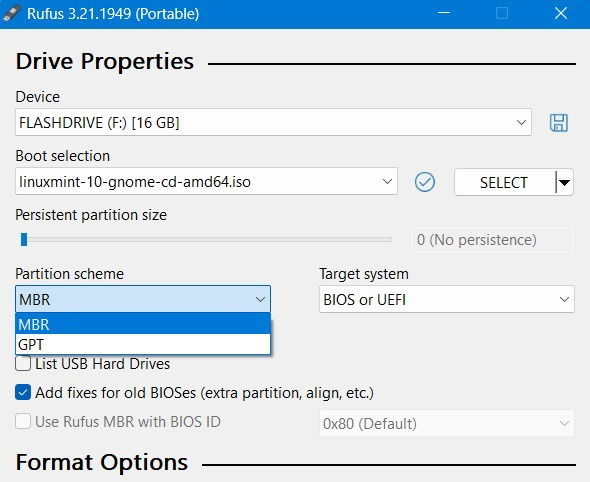
- Going back to the main process, select “MBR” from the “Partition scheme” drop-down menu and “BIOS or UEFI” from the “Target system” drop-down menu. If you are trying to use this bootable USB drive on an old system, select the “Add fixes for old BIOSes” checkbox under the “Advanced Drive Properties” section.
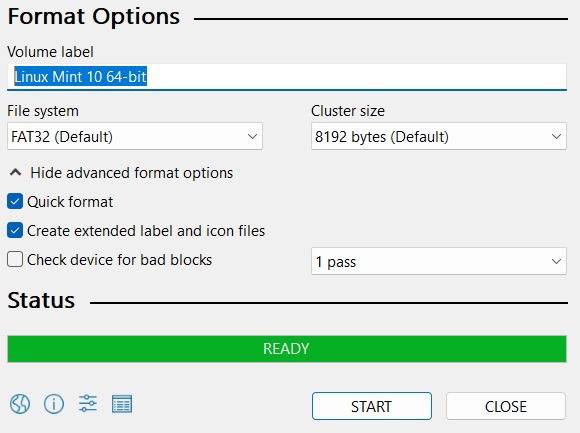
- Optional: change the USB drive name using the “Volume Label” field. Additionally, under “Advanced Format Options,” make sure the “Quick Format” checkbox is selected. As the name implies, Quick Format formats the drive quickly by skipping the check for bad sectors.
- Click on the “Start” button.
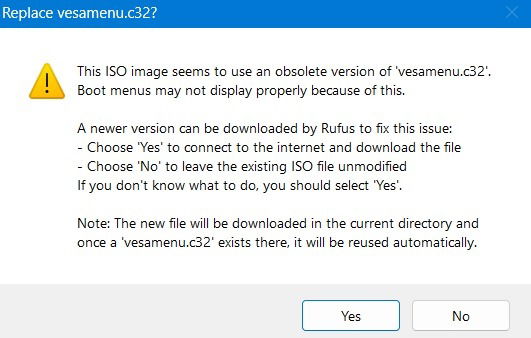
- Depending on the ISO file, Rufus may prompt you to download additional files. For instance, to create a bootable Linux Mint drive, Rufus prompts you to replace a file named “vesamenu.c32” as shown here. Click on the “Yes” button, and Rufus will take care of everything.
- In the next prompt, select the recommended “Write in ISO image mode” option and click on the “OK” button (if it shows on your screen.)
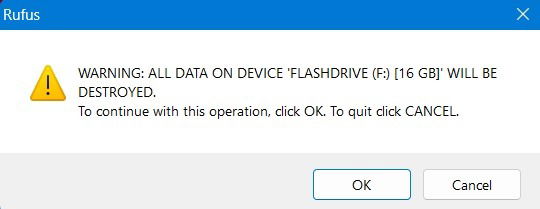
- As soon as you start the process of formatting, you will get a warning that all data on the device will be destroyed. It’s nothing to worry about, as you can recover the data later, so click “OK.” If you wish to reuse the USB drive again for data storage, follow the steps in this tutorial.
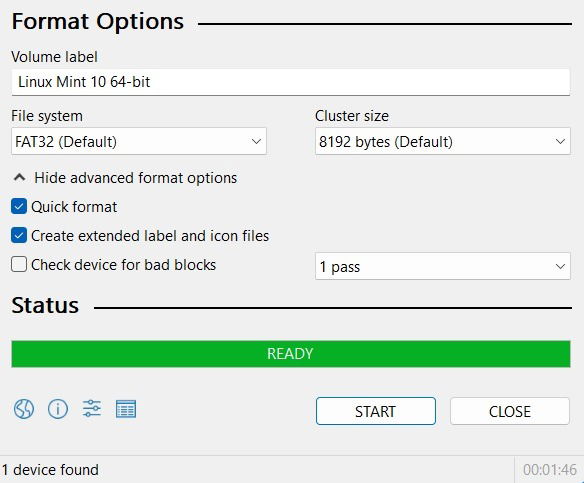
- As soon as you click on the button, Rufus starts to create the bootable USB drive. Depending on your USB drive, it can take a few seconds or minutes to complete the creation process.
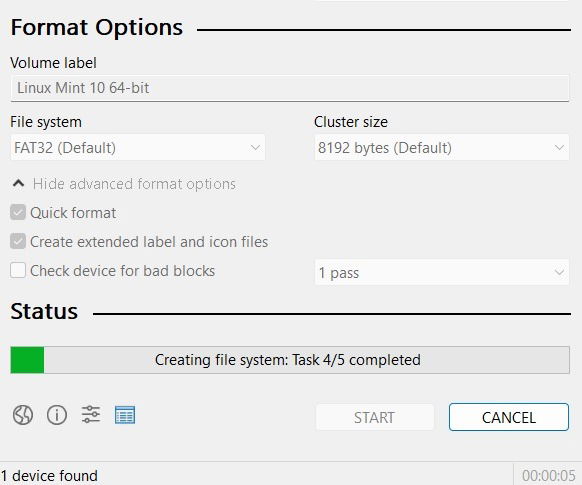
- Once done, you will not see a completion message but will hear a completion sound, and the progress bar will turn fully green.
- From the Windows 11 or Windows 10 File Explorer, verify whether a new bootable drive was created.
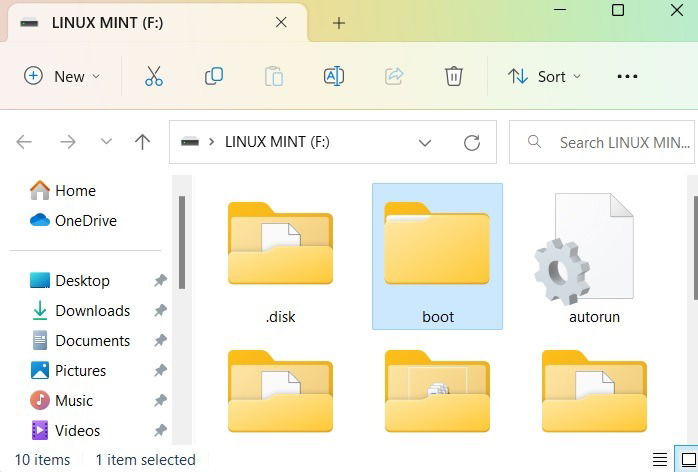
As you can see, it is pretty easy to create a bootable USB drive using Rufus. No matter how complicated the operating system/software edition is, Rufus will convert it into a usable drive, provided the drive has enough space.
Tip: did you get a “Windows detected a hard disk problem” on your PC? Here’s what to do about it.
Frequently Asked Questions
Is Rufus safe to use?
Rufus is an extremely safe software application, as it is totally free of malware, advertisements, or bundled crapware, making it a leading recommended program to create bootable USB drives. Its portable version doesn’t even require installation on your device.
Is Rufus available in Linux or Mac?
Unfortunately, Linux is only available with Windows. It does not support either Linux or Mac, but these Rufus alternatives do: BalenaEtcher (Windows, macOS, Linux), PowerISO (Windows, macOS, Linux), and Ventoy (Windows, Linux).
Windows has a ton of other software programs to help you create bootable USB drives. Even Microsoft has its own tools that allow you to create a Windows installation media on a USB drive.
Why is my bootable USB with Rufus not working?
If your bootable USB created with Rufus fails to load properly, it means the boot mode (UEFI or legacy BIOS) of your USB drive may be different from that of the computer in which you are installing the operating system. Converting legacy BIOS to UEFI is the best way to ensure a successful boot.
Image Credit: Pexels. All screenshots by Sayak Boral.

Sayak Boral –
Staff Writer
Sayak Boral is a technology writer with over eleven years of experience working in different industries including semiconductors, IoT, enterprise IT, telecommunications OSS/BSS, and network security. He has been writing for MakeTechEasier on a wide range of technical topics including Windows, Android, Internet, Hardware Guides, Browsers, Software Tools, and Product Reviews.
Subscribe to our newsletter!
Our latest tutorials delivered straight to your inbox
Sign up for all newsletters.
By signing up, you agree to our Privacy Policy and European users agree to the data transfer policy. We will not share your data and you can unsubscribe at any time. Subscribe