
Are you using the computer so much that you often forget about important events? If you find yourself late for appointments, missing TV shows, and forgetting to do that one thing “in 30 minutes,” why not make your PC or laptop alert you? Windows has had a solid timer and alarm app for a long time, but it often goes overlooked by users. Windows 10 has made it much easier to start a timer, thanks to Cortana and its more advanced Start menu. If you want the best ways to set up an alarm or a timer in Windows 10, follow these methods shown below.
Also read: If These 6 Annoying Alarm Clocks Don’t Wake You Up, Nothing Will
Fastest Method: Using Cortana to Set Alarms and Timers
With the revamped Cortana in Windows 10, you can set alarms and timers without lifting a finger. Considering how fast it is, this should really be your default method.
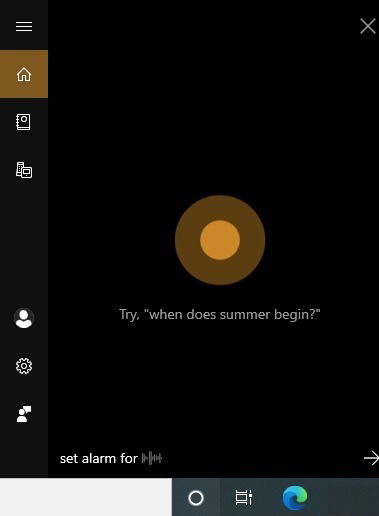
Just tell Cortana to “set alarm for” a given time on any date.
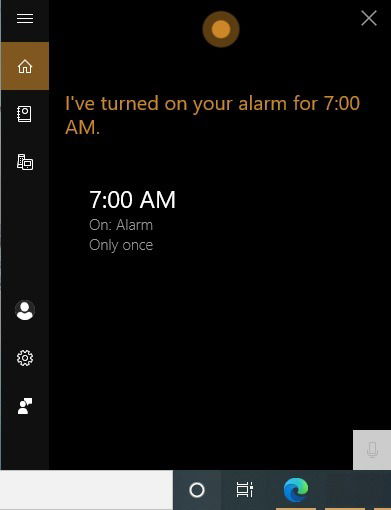
Cortana will acknowledge your instruction and respond, “I’ve turned on your alarm for” a given time of day.
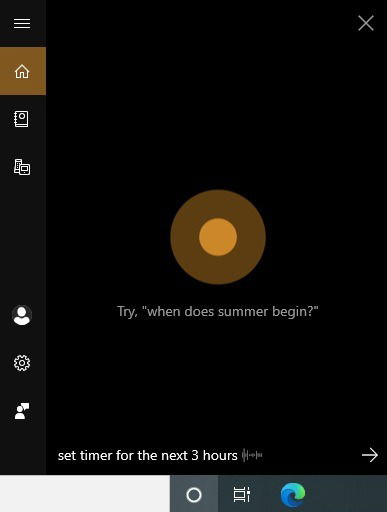
It’s also easy to set the timers for a countdown exercise. Tell Cortana to “set timers for the next X hours.”
Again, Cortana will acknowledge the instruction first and start a countdown. That’s it!
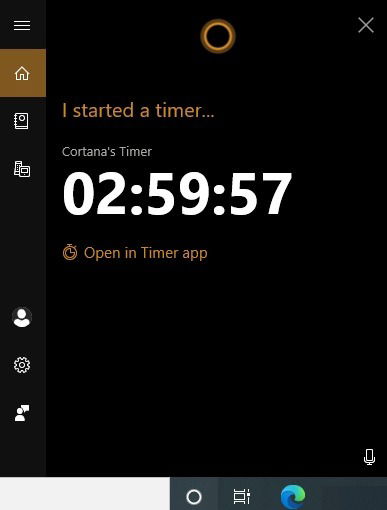
Windows 10 alarms and timers work even if the app is closed or your device is locked. If you see a warning that “notifications will only show if the device is awake,” make sure your device doesn’t go to sleep.
Using Alarms & Clock App
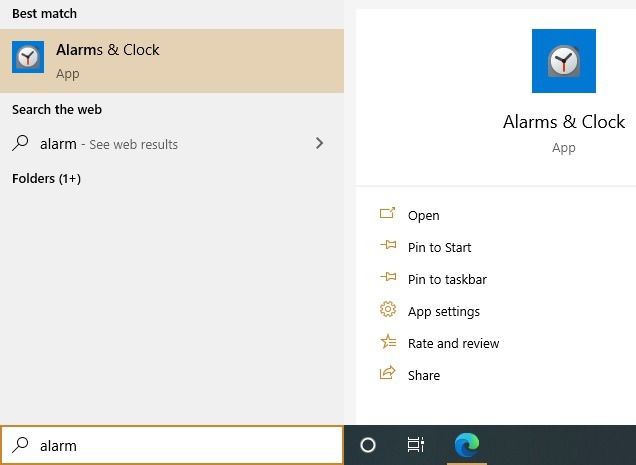
Cortana does the job perfectly, but if you want more features and customizations, you must use Windows 10’s “Alarm & Clocks” app. Launch it from the Start menu or tell Cortana to open it for you.
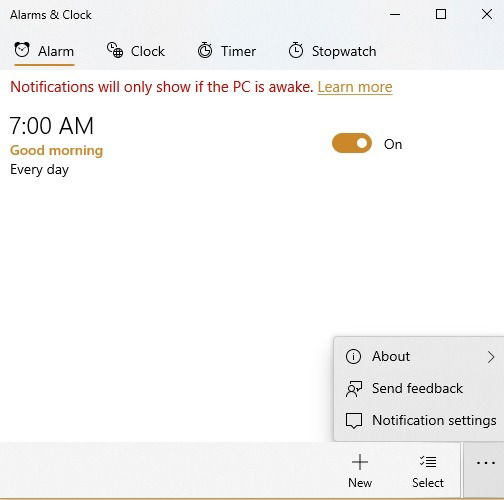
Once the app is open, you will be greeted with a simple dashboard, which contains all the features including alarm, clock, timers, and stopwatch. To set a new alarm, click the “+” option and turn it “on” or “off” as per your needs.
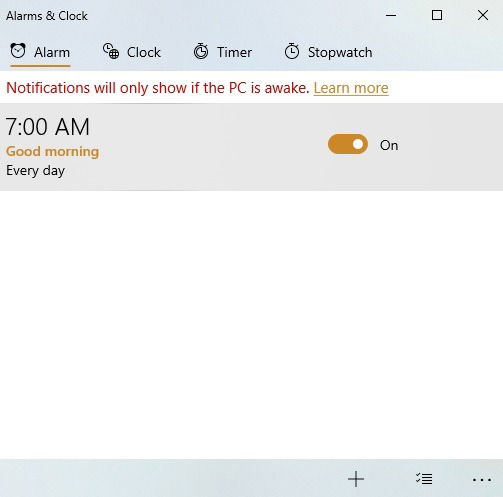
To edit the alarm, simply click in its vicinity, and it will open an edit screen.
In the “Edit Alarm” screen, you can adjust the alarm time in the slider in AM and PM or 24-hour format as per your settings. Give the alarm a name.
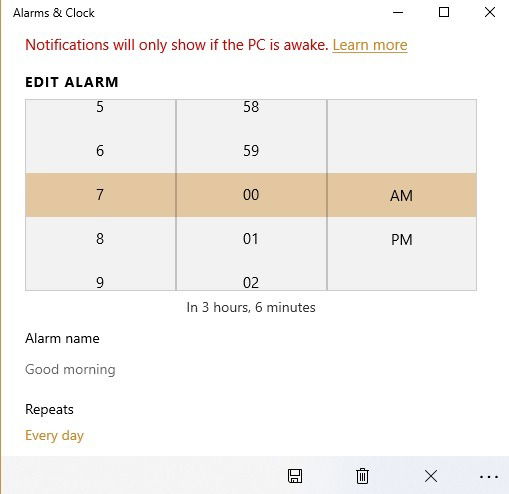
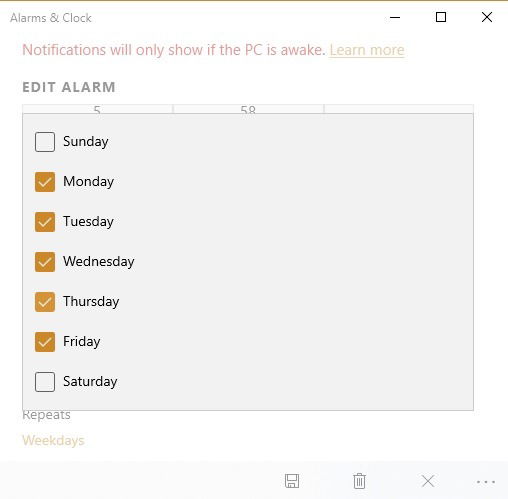
You can choose how frequently the alarm will repeat. This allows you to turn it off on weekends. Of course, you can have multiple alarms on your system for different purposes, but we recommend keeping as few as needed because they will show on the lock screen, and it can be confusing to remember them all.
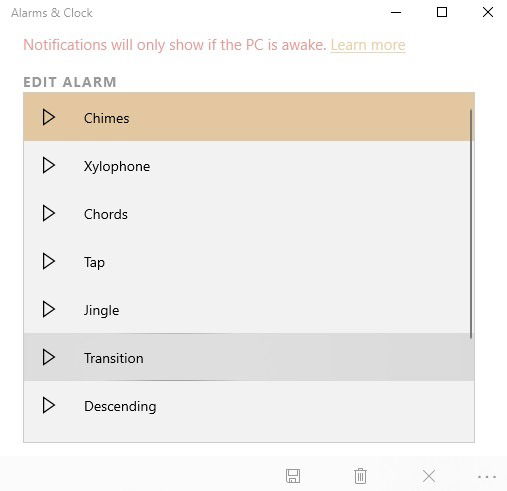
You can choose different sounds for the alarms as per your preference.
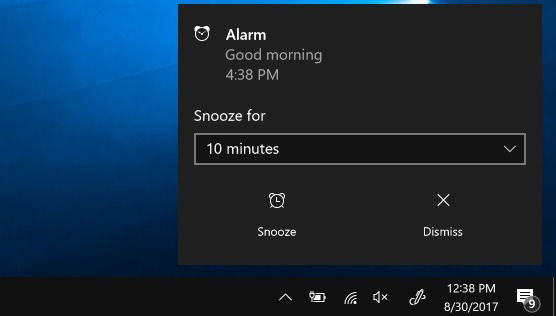
To respond to an alarm from the System tray, select “Snooze” or “Dismiss” the alarm to stop it completely.
Setting Timers on Alarms & Clock App
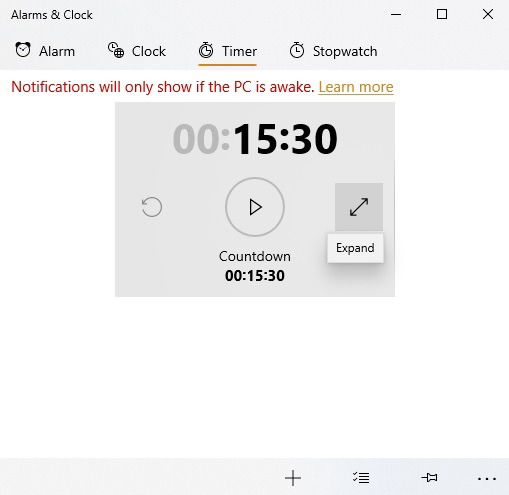
With timers, you can set countdowns for upcoming events during the day. They will show as a default value as shown here. To set a new timer, click “+.”
Once in the “Edit Timer” screen, adjust the timer countdown value in hours, minutes and seconds. Give the timer a name and click “Start” to begin.
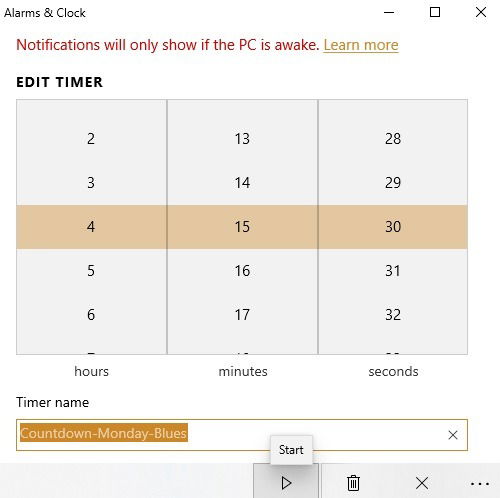
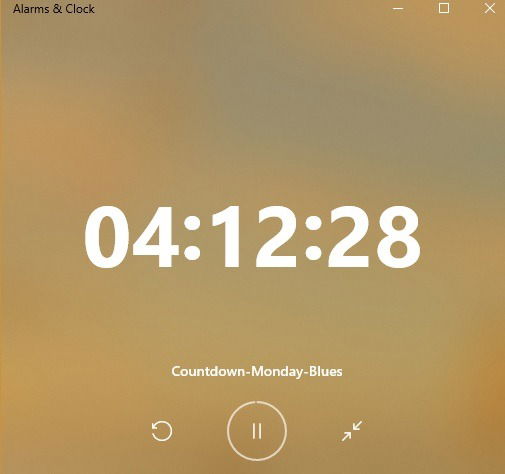
The timer is now ready, and the countdown begins.
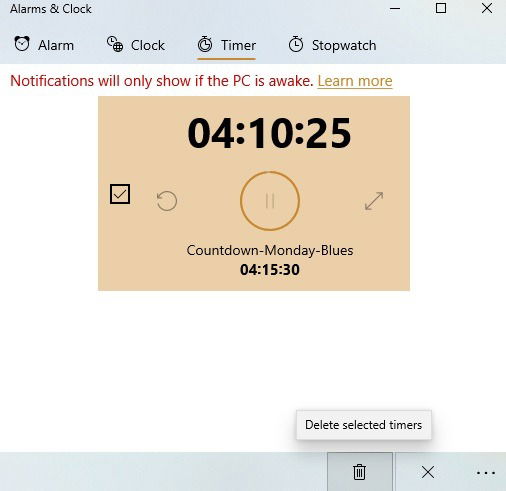
To delete unneeded timers, select them first and click “delete selected items.”
Alarms & Timers Shortcuts via Start Menu
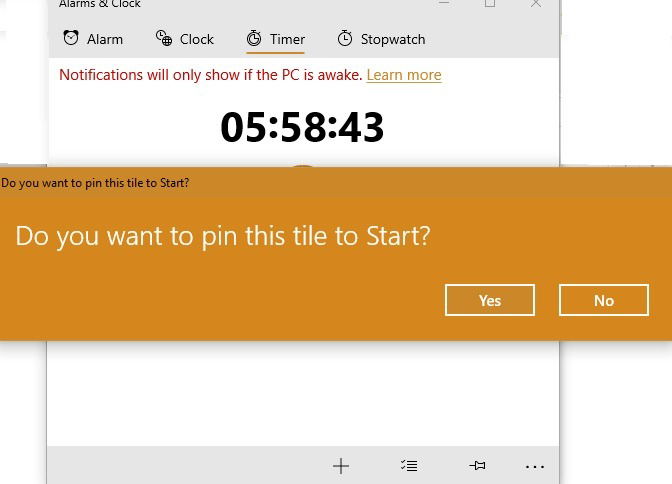
While Cortana is preferable, you can also add a shortcut of the alarms and timers to the Start menu. For this, go to the Timer tab and select “pin timers to start.”
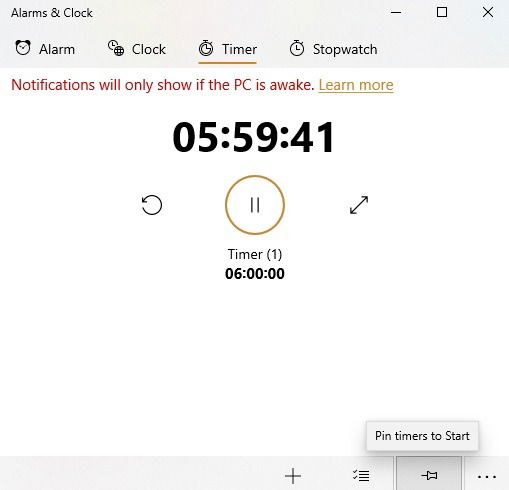
You will see a notification that asks, “Do you want to pin this tile to Start?” Click yes to proceed.
In this day and age, there’s no excuse for missing an appointment because the alarm didn’t go off! We have seen all the native methods in Windows 10 to work with timers and alarms. This will suit those who spend most of their working day on a computer or laptop. If you’d rather use a smartphone app, we have a few options for you to explore.

Sayak Boral –
Staff Writer
Sayak Boral is a technology writer with over eleven years of experience working in different industries including semiconductors, IoT, enterprise IT, telecommunications OSS/BSS, and network security. He has been writing for MakeTechEasier on a wide range of technical topics including Windows, Android, Internet, Hardware Guides, Browsers, Software Tools, and Product Reviews.
Subscribe to our newsletter!
Our latest tutorials delivered straight to your inbox
Sign up for all newsletters.
By signing up, you agree to our Privacy Policy and European users agree to the data transfer policy. We will not share your data and you can unsubscribe at any time. Subscribe