Windows has several Administrative Tools, and for ease of use and management, they are all accessible through a single Window aptly named “Administrative Tools” in the Control Panel. The utilities in the Administrative Tools section, such as Local Security Policy, Computer Management, Component Services, etc., are very powerful and can do almost anything from modifying the system configurations to lifting up the restrictions.
If you are a Windows administrator, then it is only natural that you want to restrict users from easily accessing Administrative Tools. This restriction helps you preventing users from getting their hands on all the administrative tools easily.
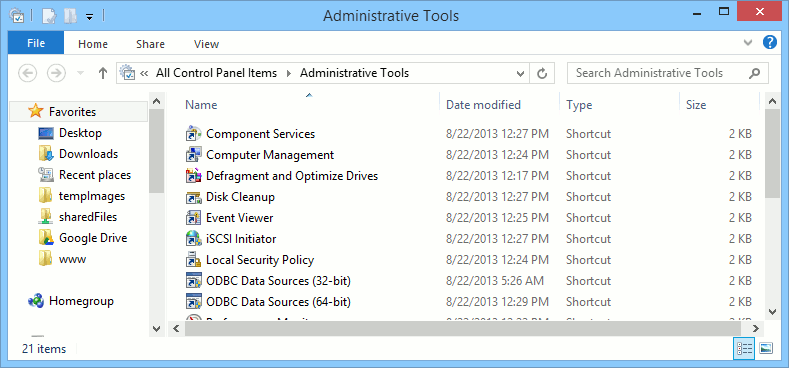
Like most things in Windows, you can restrict or disable Administrative Tools using the Group Policy Editor or the Windows Registry. If you have access to the Group Policy Editor, then it is recommended that you use it to achieve the task as it will be more manageable.
Using Group Policy Editor
To disable Administrative Tools using Group Policy Editor, press “Win + R”, type gpedit.msc and press the Enter button to open the Windows Group Policy Editor.
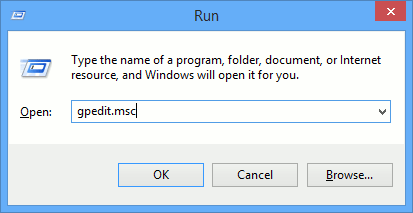
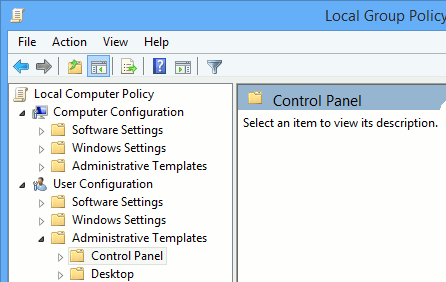
Once the Group Policy Editor has been opened, navigate to the following folder.
User Configuration -> Administrative Template -> Control Panel
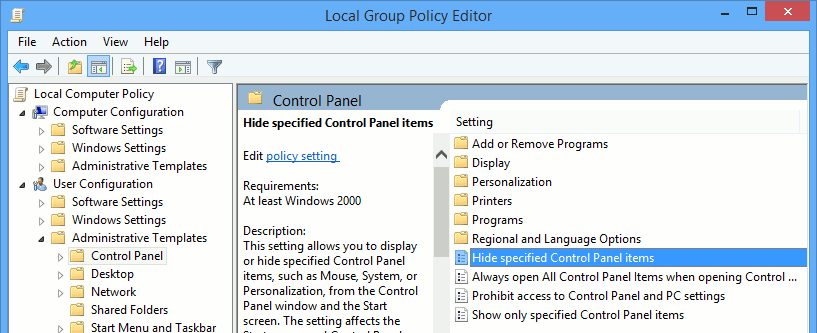
Now, find and double click on the policy “Hide specific control panel items” to open up the policy settings window.
Here in this window, select the radio button “Enabled.” Now, even though you’ve enabled the policy, you haven’t configured it to disable Administrative Tools. To do that, click on the button “Show” located under the Options panel.
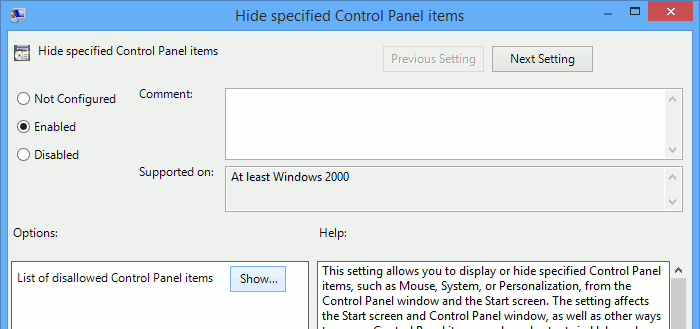
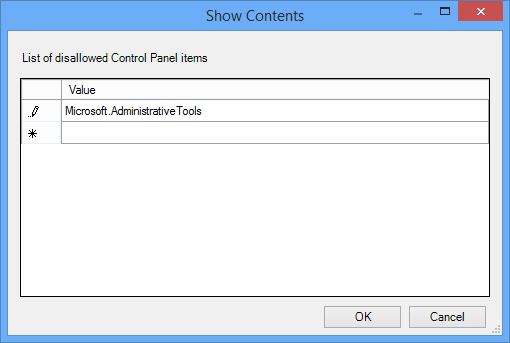
The above action will open the “Show contents” window. Here select the empty blank and copy and paste the following line into it. Once you are done adding the line, click on the “Ok” button to confirm the changes.
Microsoft.AdministrativeTools
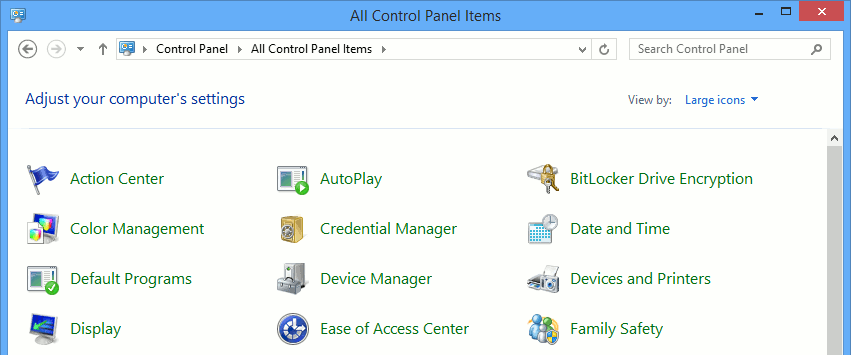
Here in this main window, click on the “Ok” button to save the changes. That’s all there is to do. Just restart your system and you can no longer see the Administrative Tools option in the Windows Control Panel.
Using Windows Registry Editor
If you don’t have access to the Group Policy Editor, then you can achieve the same by using the Windows Registry Editor. To start, press “Win + R,” type regedit and press the Enter button to open the Registry Editor.
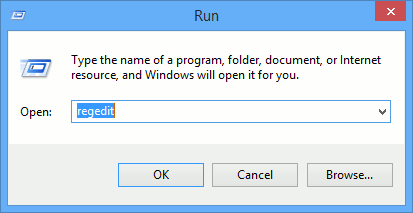
Here, navigate to the following key.
HKEY_CURRENT_USERSoftwareMicrosoftWindowsCurrentVersionExplorerAdvanced
Now, scroll in the left pane, find and double-click on the value “StartMenuAdminTools.” If you cannot find the respective key, just create a new DWORD value with that name by right clicking and selecting the option “New -> DWORD value.”
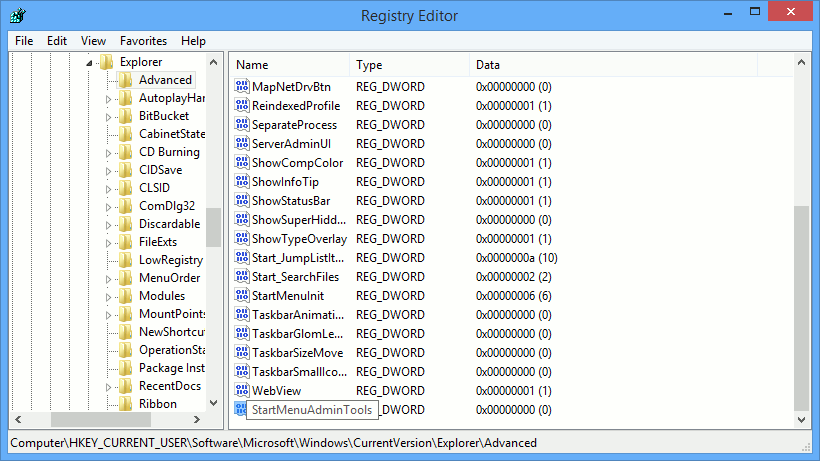
The above action will open the “Edit DWORD Value” window. Here, enter the value data as “0” and click on the “Ok” button to save the changes.
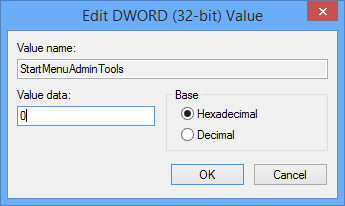
If you ever want to revert the changes, just change the value to “1” and you are good to go.
That’s all there is to do, and it is that simple to disable Administrative Tools in Windows. Sure, this is not a foolproof way to completely restrict users from accessing the Administrative Tools, but it sure makes it hard to access all those powerful tools.
Hopefully that helps, and do comment below sharing your thoughts and experiences about using this simple method to disable Administrative Tools in Windows.
Vamsi is a tech and WordPress geek who enjoys writing how-to guides and messing with his computer and software in general. When not writing for MTE, he writes for he shares tips, tricks, and lifehacks on his own blog Stugon.
Subscribe to our newsletter!
Our latest tutorials delivered straight to your inbox
Sign up for all newsletters.
By signing up, you agree to our Privacy Policy and European users agree to the data transfer policy. We will not share your data and you can unsubscribe at any time. Subscribe
