
With Windows 10, Microsoft introduced a new architecture called Universal Windows Platform (UWP) that aims to unify the app experience across devices like desktops and mobiles. As such, all the new Universal Windows Platform apps use “.appx” or “.appxbundle” as their file formats. One of the good things about UWP apps is that Windows manages all the installation and uninstallation process so that you don’t have to worry about any leftover files or registry entries.
Generally, you can download UWP apps directly from the Windows Store. However, if you want to you can directly download .appx files from a developer site and sideload them in your system. Here is how to manually install .appx files in Windows 10.
Enable Sideloading Windows 10
Before you can install or sideload Universal Windows Platform apps, sideloading should be enabled in Windows 10. Thankfully, sideloading is enabled by default. However, it is better to verify and enable the “Sideloading” setting, as it might be disabled by your administrator or organization.
To enable sideloading, click on the Notification icon in the taskbar and then select the option “All Settings.”
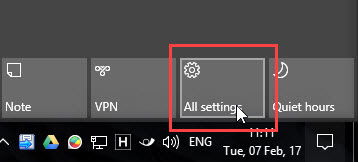
Once the Settings app has been opened, click on the option “Update and Security.”
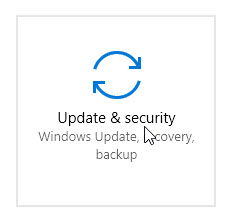
Here, navigate to “For Developers” appearing on the left panel.
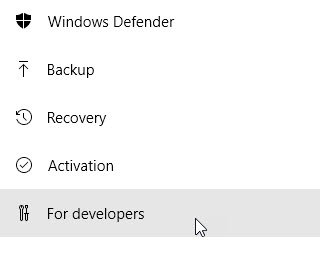
Now, select the “Sideload apps” radio button on the right panel and close the window.
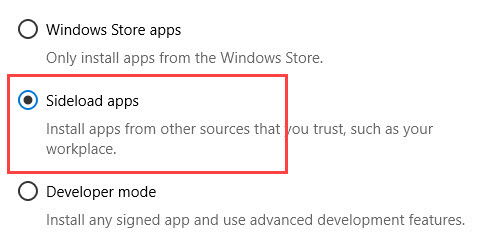
You’ve now successfully enabled sideloading in Windows 10.
Install .appx Files With Double-Click
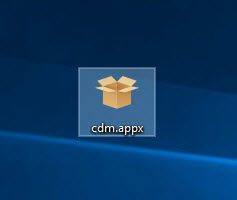
To sideload a UWP app, simply double-click on the .appx file. For instance, I downloaded the .appx file of CrystalDiskMark UWP app and double-clicked on it.
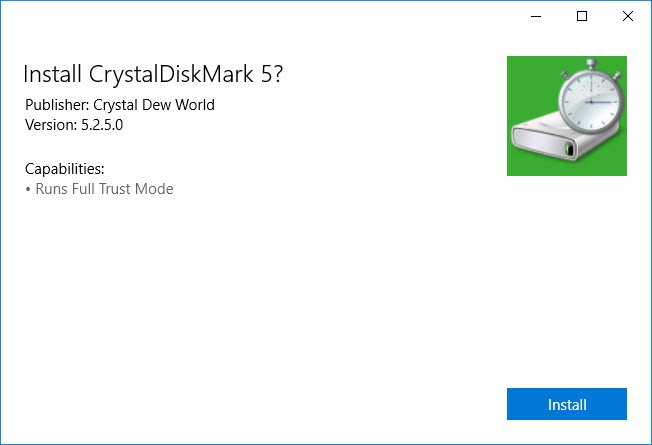
Since Windows uses its own installer, just click on the “Install” button to start the installation procedure. As you can see from the image below, Windows will show you which capabilities the app will run with. In my case the CrystalDiskMark app will run with “Full Trust Mode” capabilities.
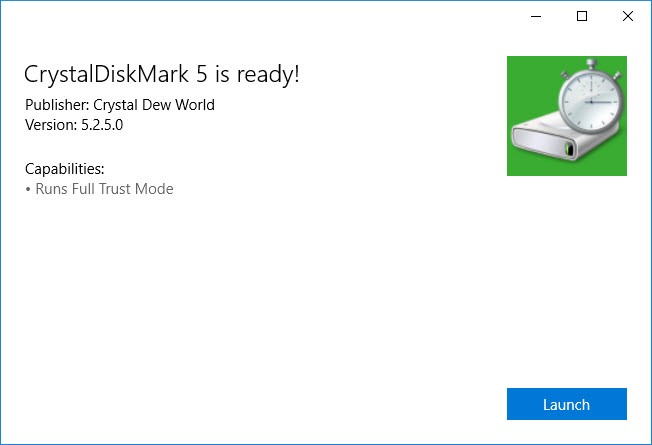
Once the installation has been completed, just click on the “Launch” button to launch the installed UWP application.
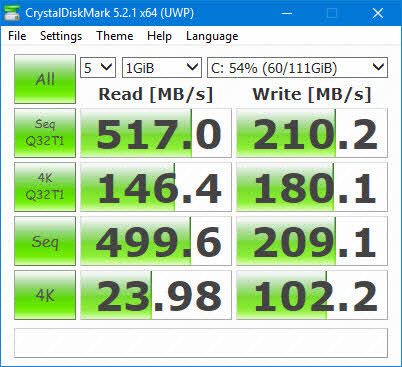
If everything goes well, you should be able to use the app like any other UWP app installed from the Windows Store.
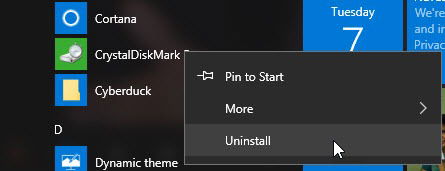
If you want to, you can uninstall the sideloaded app like any other app from the Windows Store. Simply find the app in the Start menu, right-click on it and then select the option “Uninstall” and you are good to go.
Install .appx Files via PowerShell
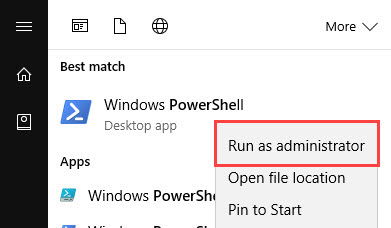
Alternatively, you can also use the PowerShell to install an .appx file. To start, search for PowerShell in the Start menu, right-click on it and then select the option “Run as Administrator.”
The above action will launch PowerShell with administrator rights. Here, navigate to the file location using the below command. Don’t forget the replace c:pathtoappxfiledirectory with the actual directory path of the .appx file.
cd c:pathtoappxfiledirectory

After navigating to the required directory, use the below command to install the .appx file. Again, don’t forget to replace “file.appx” with the actual UWP file name.
Add-AppxPackage .file.appx
Alternatively, you can also use the below command:
Add-AppxPackage -Path .file.appx

As soon as you execute the command, the app will be installed. You will not receive any confirmation message whatsoever in the PowerShell window. However, you can search for the installed app in the Start menu and open it.

Do comment below sharing your thoughts and experiences about using the above methods to install .appx UWP files in Windows 10.
Vamsi is a tech and WordPress geek who enjoys writing how-to guides and messing with his computer and software in general. When not writing for MTE, he writes for he shares tips, tricks, and lifehacks on his own blog Stugon.
Subscribe to our newsletter!
Our latest tutorials delivered straight to your inbox
Sign up for all newsletters.
By signing up, you agree to our Privacy Policy and European users agree to the data transfer policy. We will not share your data and you can unsubscribe at any time. Subscribe
