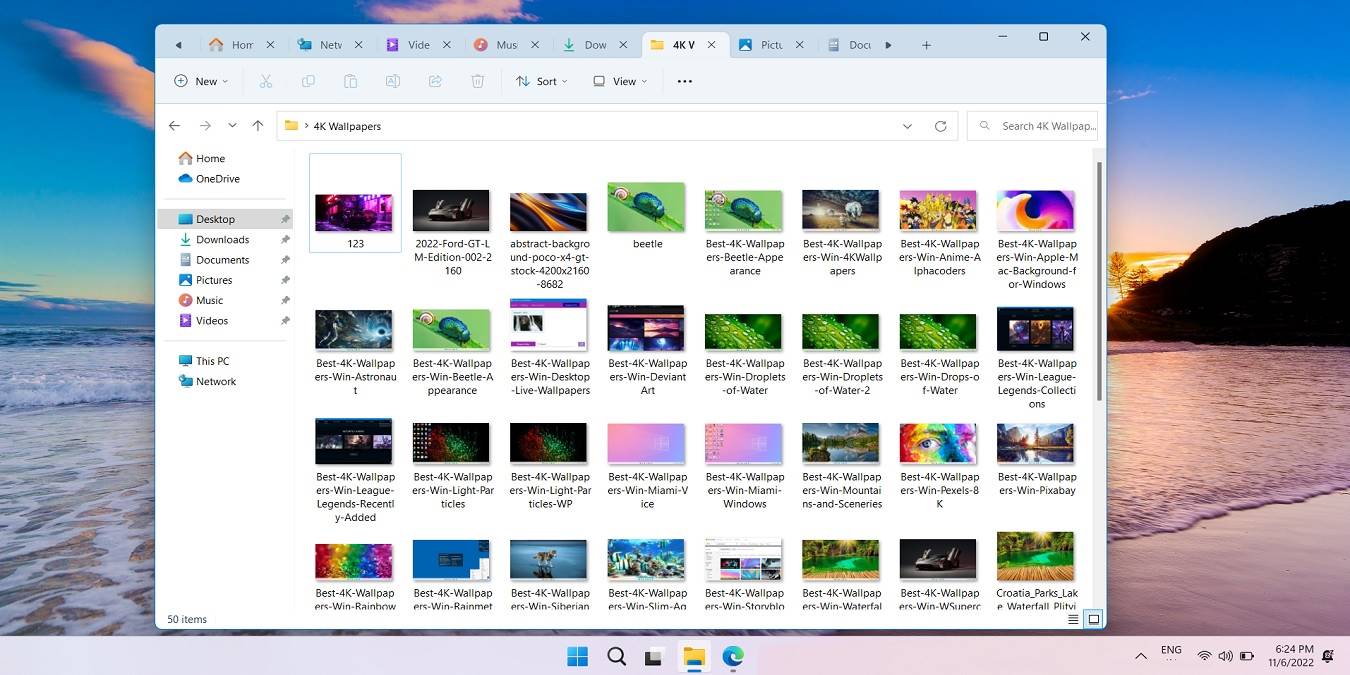
Windows 11 File Explorer is presently supporting tabs for navigation similar to macOS Finder tabs. This new design feature from 22H2 onward helps you find your way around the folders faster than what was previously possible. The offline tabs you can now create are very similar to a browser’s tabbed webpages in that they automatically divide by equal widths, and you can horizontally scroll from one tab to the next. Windows 10 does not support File Explorer tabs. If there was ever a reason to upgrade to Windows 11, this is probably it!
Content
- What Are Windows 11 File Explorer Tabs
- How to Get Tabs in Windows 11 File Explorer
- Using Multi-Tabbed File Explorer in Windows 11
- 1. Add New Tabs
- 2. Close Tabs
- 3. Cut, Copy and Paste
- 4. Drag and Drop
- 5. Scroll Tab List Forward and Backward
- 6. Tabs and Multiple Windows Open
- Does Having More Tabs Open Use More RAM and CPU?
- How to Install Tabs in Windows 10 File Explorer Using Files App
- Frequently Asked Questions
What Are Windows 11 File Explorer Tabs
With Windows 11 version 22H2 (2022 Update), Microsoft has brought in new visible changes, such as Smart App Control, Suggested Actions on Copy, Taskbar Overflow items, and a more easily clickable Search button on the Taskbar.
But the biggest attraction, by far, is a multi-tabbed File Explorer on top of the context-menu command bar. It is a long-awaited feature that removes the need to open several File Explorer windows at once. The tabs have replaced them to present a one-stop view of all the folders you’re working in concurrently.
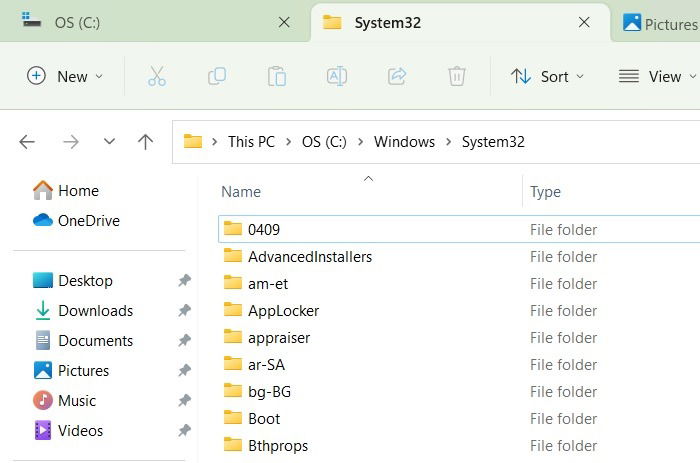
Each tab you create has its own set of unique files and folders and can be opened and closed independently of others. You can easily scroll away from one tab to the next and quickly reshuffle the files and folders in one fell swoop. All tabs disappear after you close the main File Explorer window.
Want to restore an exact set of tabbed windows? You must put your PC in a state of hibernation or sleep, both having separate benefits.
How to Get Tabs in Windows 11 File Explorer
The only way to get tabs in Windows 11 File Explorer is to “Check for Updates” and go for the latest 22H2 updates (2022 Update) or a cumulative one.
- Press Win + I to open Settings.
- Check for Updates under “Settings -> System -> Windows Update.”
- Download and install a cumulative update by noticing the update number and OS Build (the higher the better.)
- If you have other pending updates, finish them first. It may not take a very long time, but keep your device plugged in while ensuring steady Wi-Fi access.
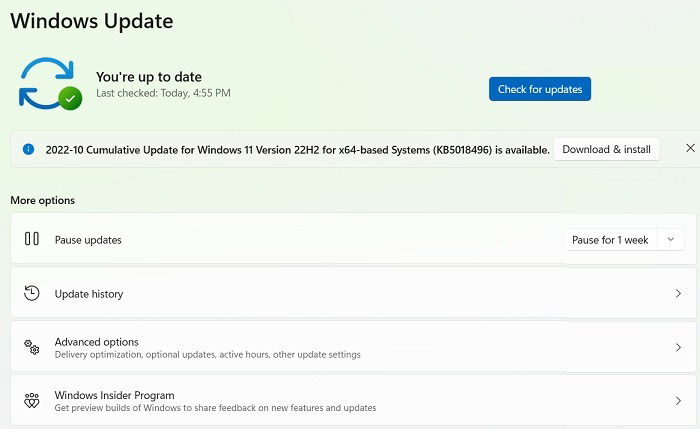
To avoid any past buggy versions, ensure that your update is at least numbered KB5018496 (OS Build 22621.755) or higher. These were launched in the last week of October 2022 and are more stable than earlier updates. All cumulative updates after this timeline are good to go.
We always go for an update a week or two after the main version release, as it gives reassurance that all the bugs, if any, were taken care of.
Tip: If you are having issues with your File Explorer, here are
some ways to fix it. Sometimes,
restarting the File Explorer may also help.
Using Multi-Tabbed File Explorer in Windows 11
There are many uses for a multi-tabbed File Explorer in Windows 11. You can add new tabs and close them after you’re done, copy-paste contents from one tab to another, drag and drop files and folders, scroll tab lists backward and forward, and work with multiple tab lists in different File Explorer windows.
1. Add New Tabs
The command bar is one of the most prominent features of Windows 11, as it comes with context menu shortcuts, such as Cut, Copy, Paste, and Rename. (The Ribbon Display is history!) To add new tabs in a Windows 11 File Explorer window, click any “+” button in the top bar, which is right above the command bar. You can also use a keyboard shortcut: Ctrl + T.
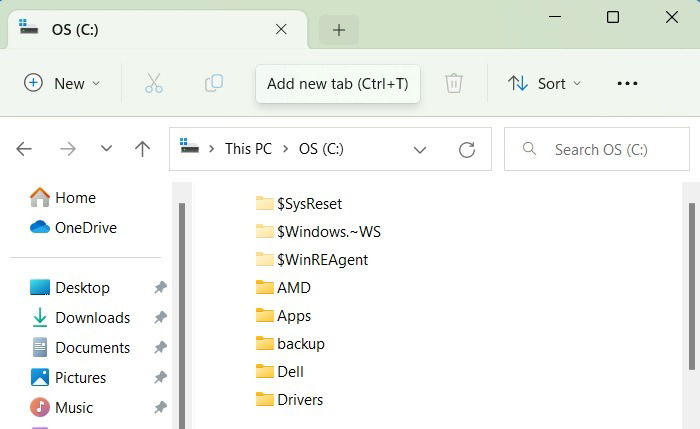
Each tab you create will be placed in a position to the right of the previous tabs. Depending on your display size and resolution, you can add dozens of tabs in one single view. It is very comfortable, though, to work with approximately seven tabs. If you add many more, they will automatically line up in a scroll list.
2. Close Tabs
You will need to close any open tabs after you’re done with all the folders and files you are working with. To switch off a single File Explorer tab, hover your mouse pointer near the top bar and click any “X” symbol. You can also close a solitary tab by right-clicking anywhere on the top bar or through tthe keyboard shortcut Ctrl + W.
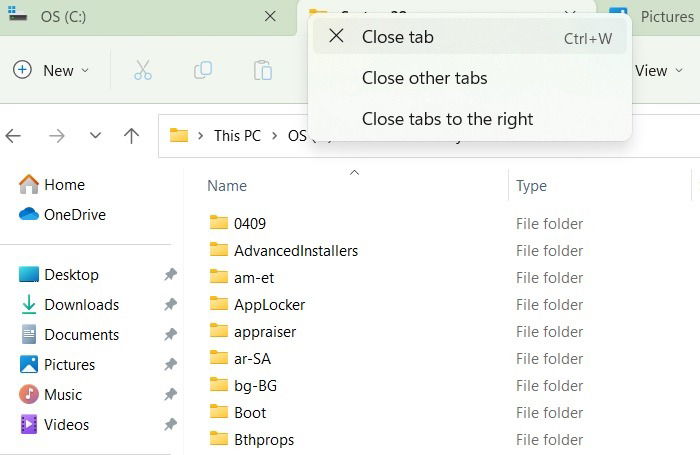
From the same menu, you can also close all of the other tabs in File Explorer except the one you’re currently working in. Alternatively, choose “Close tabs to the right.”
3. Cut, Copy and Paste
You can easily cut, copy and paste files and folders between multiple open File Explorer tabs. As soon as you click on any file or folder inside a tabbed menu, the context menu shortcuts in the command bar are activated. Now it’s just a matter of choosing the relevant symbol for cut or copy. You may also select multiple files and folders at once (along with their subfolders).
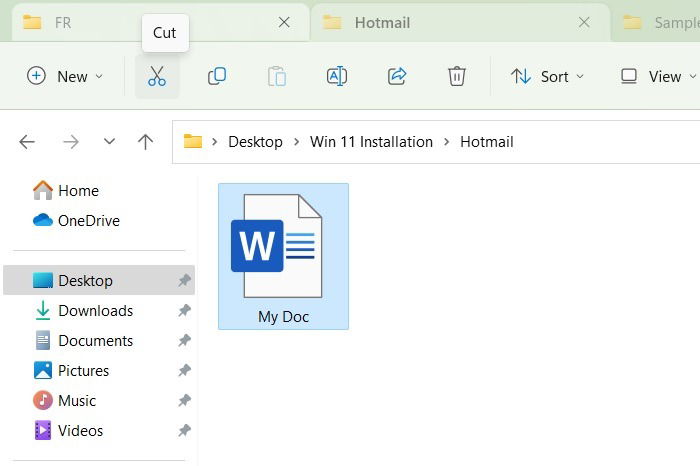
After your mouse pointer moves to a new tab, the “Paste” option will be activated. Thus, you can paste your content anywhere in a visible tab. In the past, it was tedious and time-consuming to open a new File Explorer window, then navigate to the exact folder path.
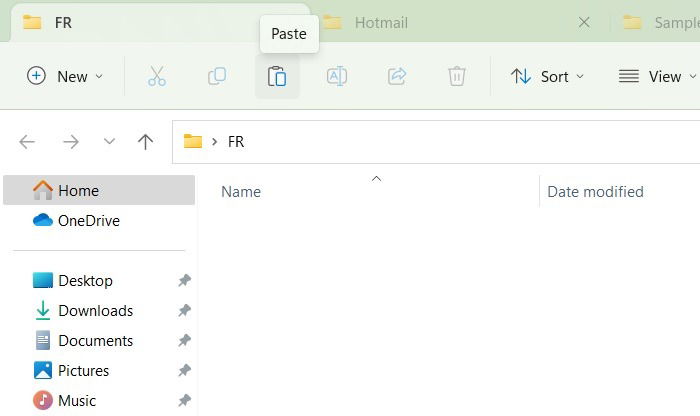
If the copy/paste function has stopped working on your PC, here are some things you may want to try to bring back this functionality.
4. Drag and Drop
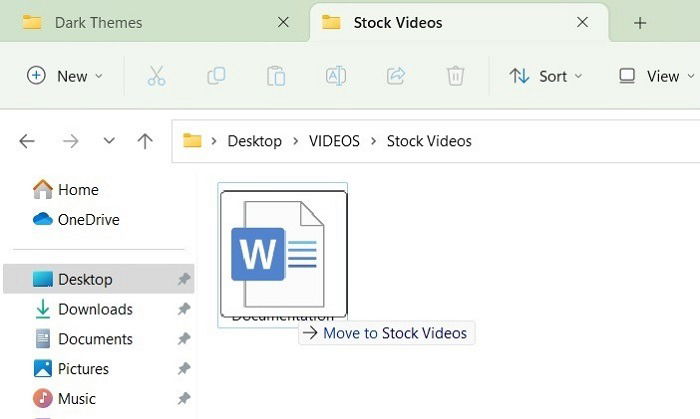
One of the best features of version 22H2 is the relative ease with which you can drag and drop files and folders from one tab to another. Previously, you had to keep multiple File Explorer windows open next to one another (or use Snap Layouts). Now it’s a breeze to transfer your contents anywhere.
- To use the drag-and-drop method in Windows 11, go to a source tab where you can select one or more files or folders.
- Click on the source files and folders together and drag them all the way to the destination tab. Don’t release the mouse pointer.
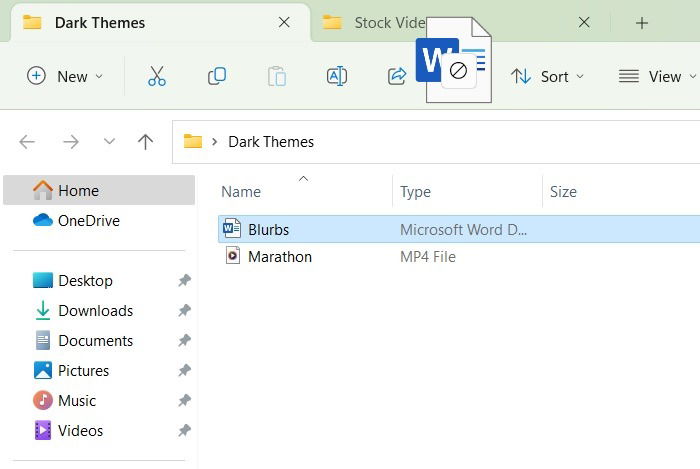
- When you move to a new tabbed window, you should see a status message that reads “Move to *Folder*”.
- Release the mouse pointer to drop the contents in a new folder.
5. Scroll Tab List Forward and Backward
When you have created several equidistant tabs in a File Explorer window, some may not fit, as there is simply not enough room left on your desktop screen. Also, if you resize the window to a smaller area on your desktop, a few existing tabs may slide out of view.
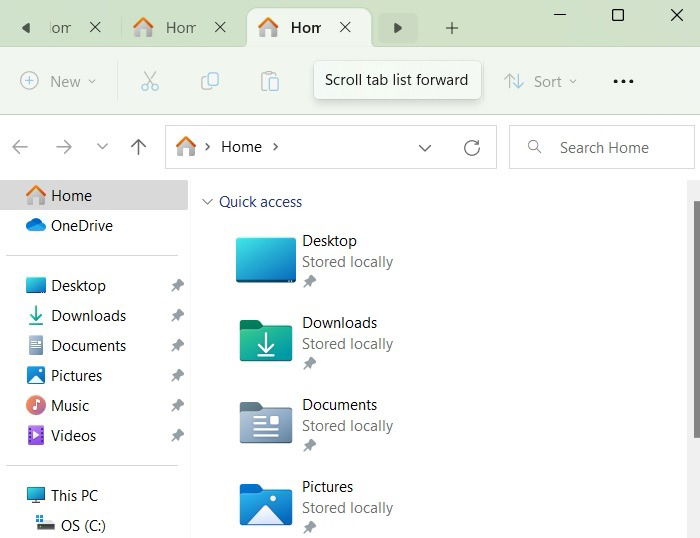
In both cases, you will find a Scroll Tab list to the left and right of your File Explorer depicted by arrow buttons. If you click the button to your right, you will advance to any newly-created tabs hidden from view.
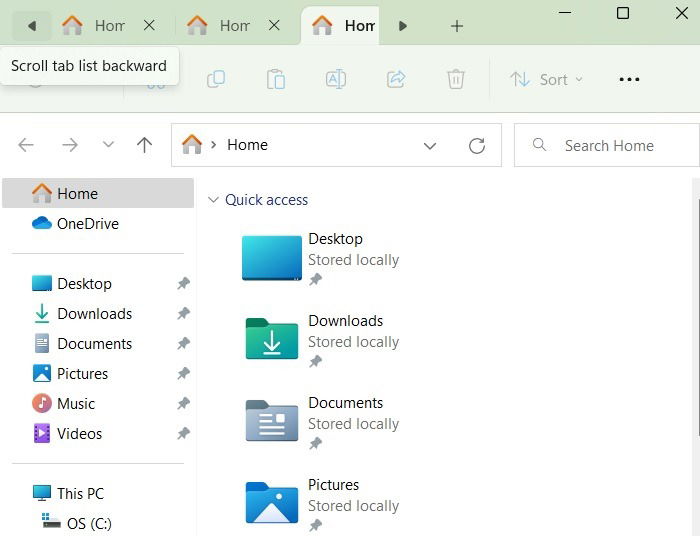
Likewise, when you click the left arrow, “Scroll tab list backward,” it will take you to the oldest created tabs in a given window.
6. Tabs and Multiple Windows Open
Windows 11 makes it convenient to operate a different set of tabs for each and every File Explorer window that is open at any given moment. This allows you to scale up to hundreds of different tabs at a given moment, something that just wasn’t possible in the past.
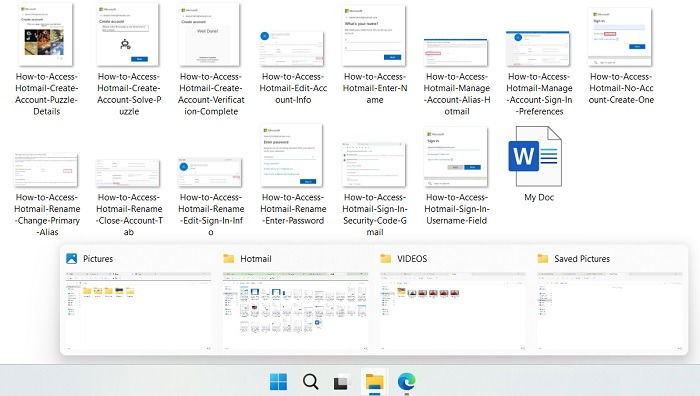
When you have multiple windows open and a lot of tabs opened in each one of them, it takes your multitasking to new heights.
What could be the possible uses? If I want to add subtitles for various video clips and GIFs, it’s time-consuming to do it for multiple folders open in different windows. But it’s so much easier if I have them all neatly arranged in different alphabetical tabs across a few windows.
Ever wasted time looking for a specific file? Learn how to use Windows File Explorer filters to search files by type, date, and more.
Does Having More Tabs Open Use More RAM and CPU?
Browser-based tabs definitely consume more system resources. And it’s a good idea to not keep multiple browser windows open forever.
However, the impact of File Explorer tabs in Windows 11 is very minimal. In the following example, we kept more than 50 of these tabs open across a few windows. According to the Task Manager Processes summary, the overall impact on the CPU was minimal (0%), and the memory impact was only 56 MB.
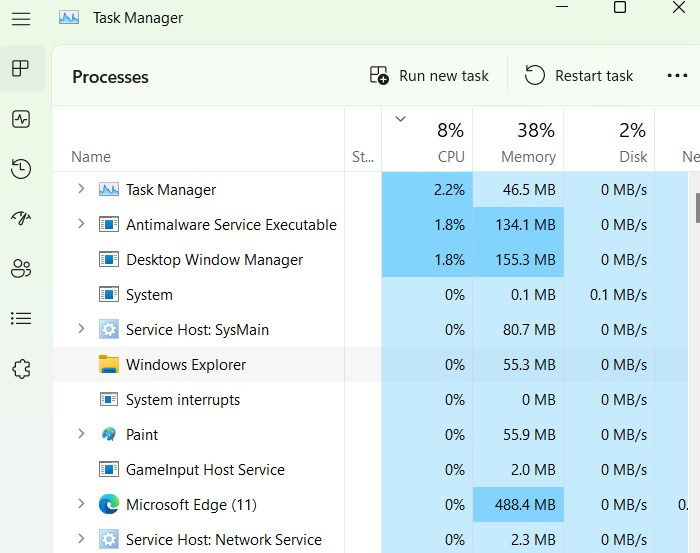
Any open applications consume more resources than the folders. In this test, the memory footprint of 50 different File Explorer tabs was very similar to just one instance of Paint running at the same time.
Here’s a quick primer on finding out which background processes consume the most memory in your system.
Unless you have many corrupted system files, you shouldn’t run into any major problems while keeping multiple File Explorer tabs open.
How to Install Tabs in Windows 10 File Explorer Using Files App
Are you using Windows 10? While you won’t be able to use the full-fledged File Explorer tabs found in Windows 11, there is a way to unlock a similar functionality.
At 110 MB, the Files App comes very close to replicating the Windows 11 experience on a Windows 10 desktop. The look and feel are very similar, and you even get Windows 11-like context menus.
While using this installed application, you can create new tabs with a simple “+” button and through a Ctrl + T shortcut.
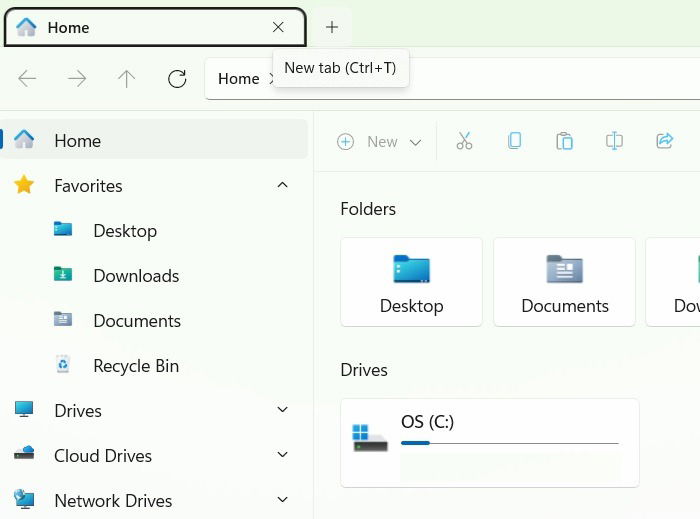
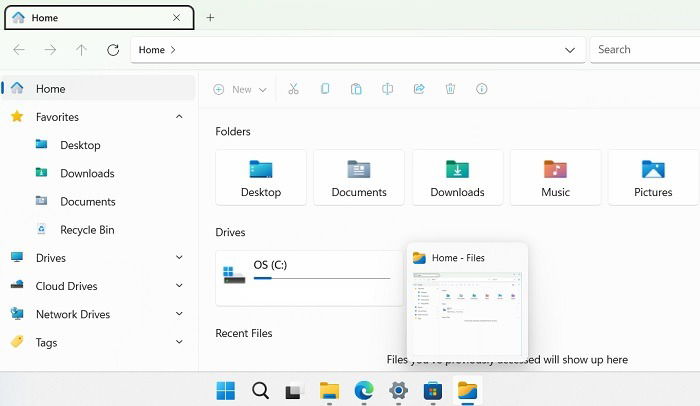
The Files App application works like any other open window on the taskbar. This means it exists on top of your existing Windows 10/11 File Explorer window and does not replace it.
Had enough of using the same old file manager app in Windows and wondering what else is out there? Check out these File Explorer alternatives that are worth exploring.
Frequently Asked Questions
Why are Windows 11 22H2 File Explorer tabs not showing?
If you’re unable to see the File Explorer tabs after a recent 22H2 update, it means you did not upgrade to the correct OS build. To fix the problem, check for recent updates in “Settings -> System -> Windows Updates.”
Why do my File Explorer tabs in Windows 11 keep crashing?
If your File Explorer tabs keep crashing or restarting, it’s mostly down to two major issues: corrupt system files and an oversized File Explorer cache.
The first problem can be fixed using the DISM and SFC tools, which means running commands, such as DISM /Online /Cleanup-Image /ScanHealth and sfc/scannow (more about sfc/scannow here) in Command prompt (Admin mode only).
For the second issue, do a Windows search for “Clear File Explorer history” and click “OK” to delete the cache.
Image credit: All screenshots by Sayak Boral.

Sayak Boral –
Staff Writer
Sayak Boral is a technology writer with over eleven years of experience working in different industries including semiconductors, IoT, enterprise IT, telecommunications OSS/BSS, and network security. He has been writing for MakeTechEasier on a wide range of technical topics including Windows, Android, Internet, Hardware Guides, Browsers, Software Tools, and Product Reviews.
Subscribe to our newsletter!
Our latest tutorials delivered straight to your inbox
Sign up for all newsletters.
By signing up, you agree to our Privacy Policy and European users agree to the data transfer policy. We will not share your data and you can unsubscribe at any time. Subscribe