In Windows 10 Microsoft introduced a new built-in feature called Microsoft Family which can be used to create child accounts for your children or anyone who needs adult supervision on their computer activities. With the child accounts you can control when the user can use the computer, their web browsing activities, apps, games, in-game purchases, store purchases, etc. This kind of family safety is nothing new; in fact, you can use it in previous versions like Windows 7 by installing the Microsoft Windows Essentials.
However, the good thing about the Family Safety feature in Windows 10 is that you can remotely control how your kids use the computer from anywhere you want using your Microsoft account. If you have kids at home and want to limit and supervise their computer activity, here is how you can create and configure child accounts in Windows 10.
One thing to keep in mind is that you should be logged in with your Microsoft account, and your child should have a Microsoft account to join the family.
Create and Configure Child Account in Windows 10
To start, click on the notifications icon and then select the option “All Settings.” Alternatively, you can also use the shortcut “Win + I.”

Once the Settings panel has been opened, click on the “Accounts” option.

In the Accounts pane, select the option “Family and Other Users” from the left pane and then select “Add a Family Member.” As I said before, you need to be logged in with your Microsoft account, otherwise you won’t have this option.

Windows will ask whether you would like to add a child or an adult. Select the radio button “Add a child,” enter the child’s Microsoft email address and click on the “Next” button to continue.

Confirm the email address by clicking on the “Confirm” button.

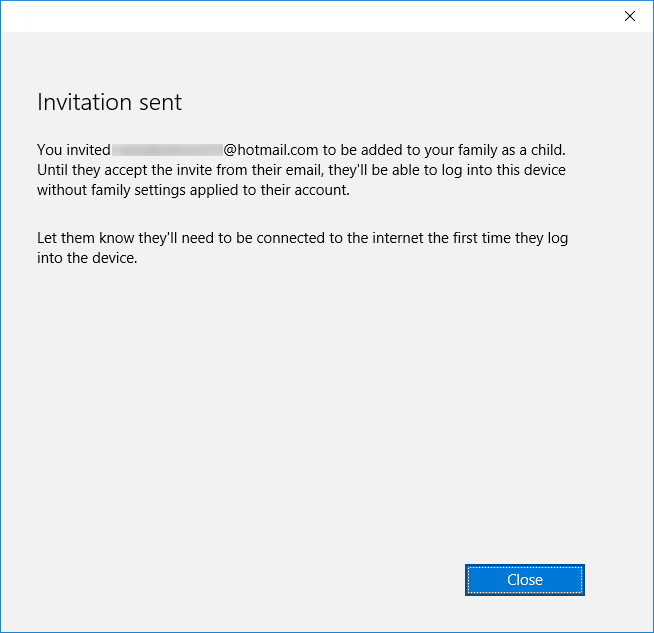
As soon as you’ve confirmed the email address, an invite will be sent to the child’s email address.

Your child should accept the invitation sent to their email address. Ask your child to open the email account and accept the invitation by clicking on the “Accept Invitation” link

In the next screen click on the “Sign in and join” button to finalize the account addition.

As soon as the child accepts the invitation, the account is added to Microsoft Family, and they can log into their user account and use the PC like any other standard user. If they ever need to, the child can remove their account.

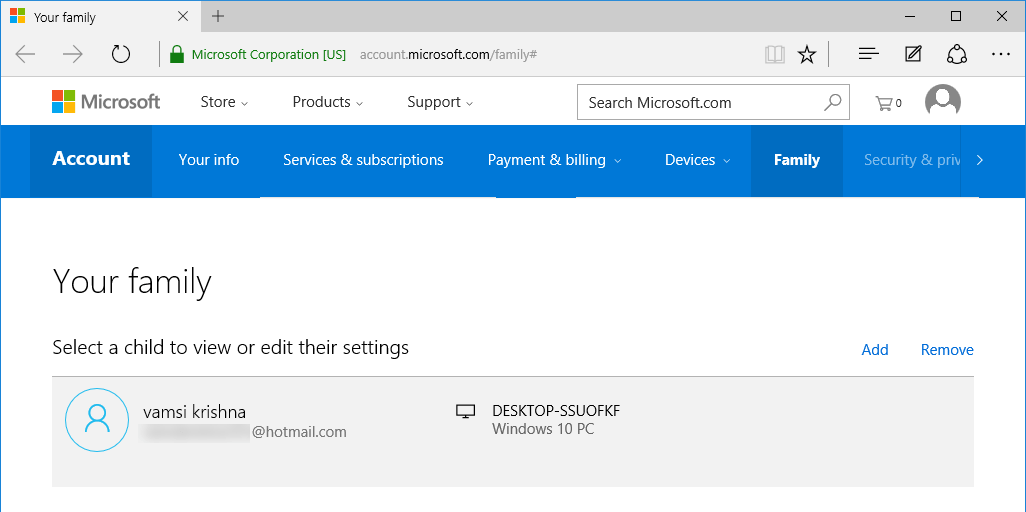
Once the child account has been added, you can see the reflected changes in the “Family and other users” window. Click on the “Manage family settings online” link to set rules for your child.

In the Microsoft Family settings page, select the child user you want to set rules for.

The first thing you need to do is enable activity reporting so that you can get info on all sorts of things like the screen times, alerts, purchases, etc. To enable the activity reporting, toggle the button under “Activity Reporting.”

Just under it, you can enable various settings like web browsing rules, what apps and games can be used and installed, and you can even set a screen time so that the child can only use the computer in that set time period.

Do comment below sharing your thoughts and experiences about using the new Microsoft Family feature in Windows 10.
Vamsi is a tech and WordPress geek who enjoys writing how-to guides and messing with his computer and software in general. When not writing for MTE, he writes for he shares tips, tricks, and lifehacks on his own blog Stugon.
Subscribe to our newsletter!
Our latest tutorials delivered straight to your inbox
Sign up for all newsletters.
By signing up, you agree to our Privacy Policy and European users agree to the data transfer policy. We will not share your data and you can unsubscribe at any time. Subscribe
