When you initially set up Windows 10, you’ll be asked to select a system language. Usually, the need to alter the system language stops here. However, if you want to change the language later on, it’s not too late! Perhaps you’re using the computer with someone who speaks a different primary language than you, or you purchased a second-hand computer set up with a system language you don’t understand.
If you need to, it’s simple to change the language to what you want. Even if you can’t read the language Windows is set to, you can follow the pictures in this guide to change the language.
Navigating to the Languages Screen
To access the languages screen, we need to go through the system settings. To begin with, click on the Start button, then the small cog icon on the left of the menu.
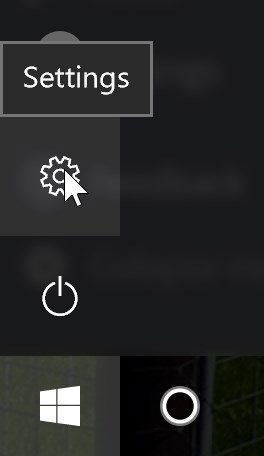
In the Settings window click “Time & Language.”

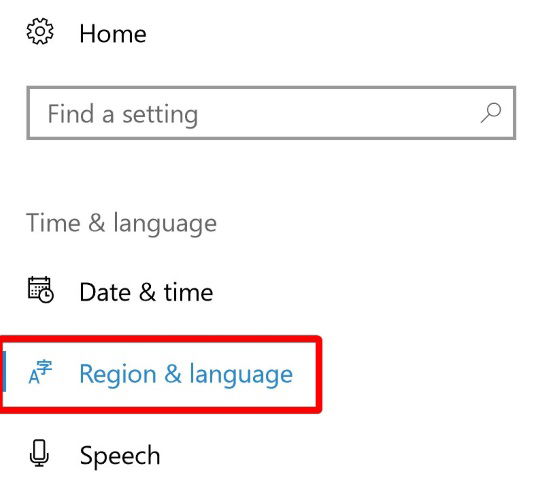
Click “Region & language” on the left, the second option down.
Click the plus button alongside “Add a language.”
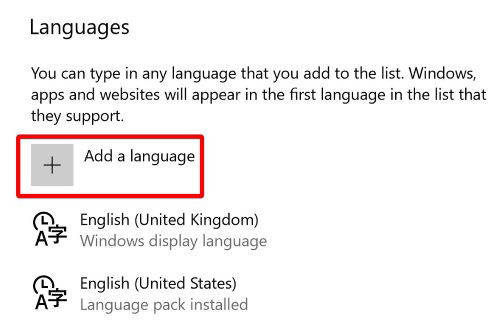
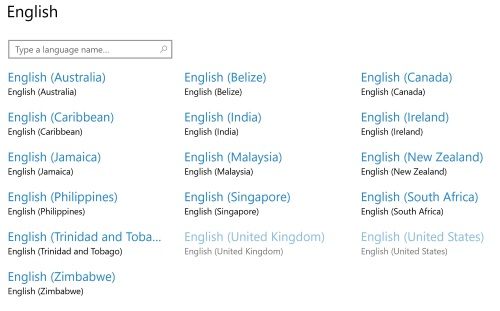
Windows 10 will now display a list of languages. Thankfully, each language is listed with its native name as well as its name in the system’s set language. This means even if you’re using a computer set to a language you can’t understand, you can find your preferred one on this list. Select the language you want to use.

Your selected language may have additional options to it. For example, when we select English, there’s a whole range of languages we can pick from. Use this to customise the system language to suit you.
Once you’ve picked your language, Windows 10 may need to download a language pack. You can check by going back to the screen where you clicked “Add a language.” You should find your newly-selected language here. If it says “Language pack available” under it, click the “Options” button.

Under “Download language pack,” click “Download” to install the language pack.
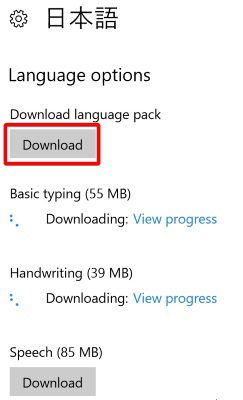
When the pack is downloaded, the language will be ready to use. To make it the default language for the current user account, click “Set as default” on the language.

Making a Language Change System-Wide
While you can change the language for your own account, you can also force the welcome screen and new accounts to use that language as well. This is useful if you bought a laptop or computer set to a foreign language and want everything to be in your native language.
To make your language changes system-wide, click Start, type “Control” and click the “Control Panel” entry that appears.
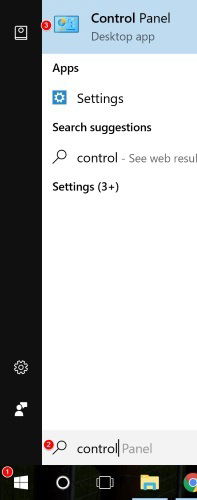
Go to the Large/Small Icon view and click “Region.”

Along the top of the window that appears, click the “Administrative” tab.

Click the “Copy settingsb…” button.
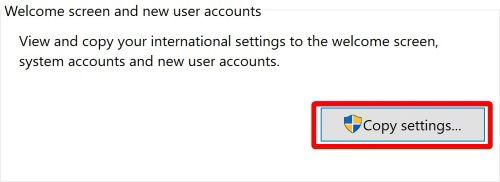
A window will pop up. Here you can see how your system displays languages. While you can’t tweak the individual settings on this screen, you can set your language as the new system default by clicking these two tick boxes at the bottom:

This will make your set language the new system default, including the welcome screen and all accounts created from now on. OK out of all windows and give your PC a restart. Once it has restarted, everything should be set to the language you selected.
Speaking Your Language
If you want a machine to use multiple languages on different accounts, or if you bought a machine with a foreign language pre-installed, you can always change it to suit you. Now you know how to change a language on an account, as well as applying the language changes to the entire system.
Have you ever bought a machine in a different language before? Was it hard to set the language? Tell us your stories below!
Simon Batt is a Computer Science graduate with a passion for cybersecurity.
Subscribe to our newsletter!
Our latest tutorials delivered straight to your inbox
Sign up for all newsletters.
By signing up, you agree to our Privacy Policy and European users agree to the data transfer policy. We will not share your data and you can unsubscribe at any time. Subscribe
