
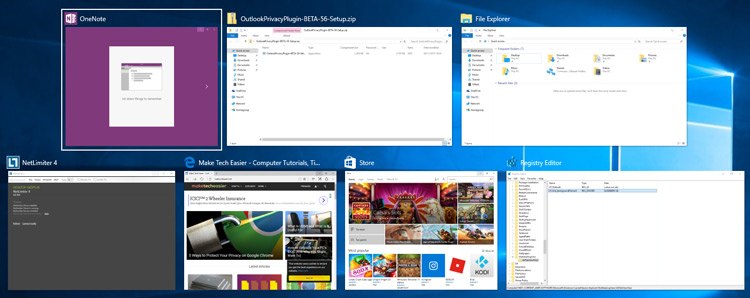
One of the best and most useful features in almost every operating system is the “Alt + Tab” keyboard shortcut. This handy little keyboard shortcut was first introduced in Windows 3.0. Ever since, this keyboard shortcut is widely used to switch between between multiple apps without using the mouse. When you use this keyboard shortcut in Windows 10, all your opened windows will appear in a grid format with a transparent background, letting you choose which window you want to switch to.
The default transparency setting looks pretty good for the most part. However, if you want to change the background transparency, you can do that in a few steps. Here’s how to change alt-tab transparency in Windows 10.
Change Alt-Tab Transparency in Windows 10
Note: before making any changes, make sure that you have a good backup of your Windows Registry. This helps you to restore your Windows system if anything happens.
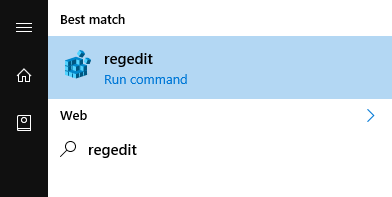
To change the alt-tab grid transparency in Windows 10, search for regedit in the Start menu and click on it to open the Windows Registry Editor.
After opening the Windows Registry Editor, navigate to the following location:
HKEY_CURRENT_USERSOFTWAREMicrosoftWindowsCurrentVersionExplorer
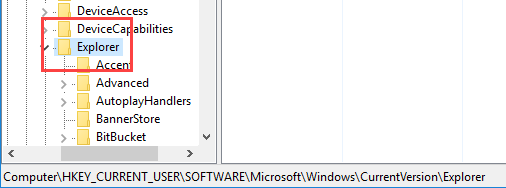
Now we need to create a new key. To do that, right-click on the “Explorer” key and select the option “New” and then “Key.”

Name the key MultitaskingView and press the Enter button to confirm the name.

After creating the key, we need to create one more key. Again, right-click on the newly created key and select the option “New -> Key.”

Name the new key AltTabViewHost and press the Enter button.
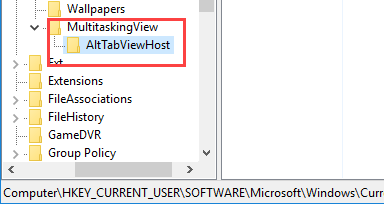
Select the newly-created key, right-click on the right panel and then select the option “New” and then “DWORD (32-bit) Value.”
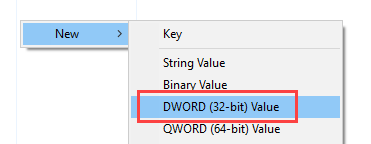
The above action will create a new blank value. Name the new DWORD value as Grid_backgroundPercent and press the Enter button.

By default, the DWORD value will have its Value Data as “0,” which simply means that the alt-tab background will be completely transparent.
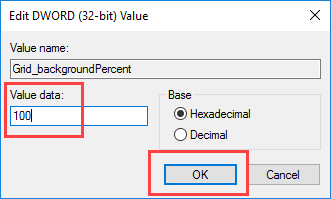
If you want the alt-tab background to be completely solid with no transparency, then we need to change the Value Data. To do that, double-click on the DWORD value to open the Edit Value window. Enter the Value Data as “100,” and click on the “OK” button to save the changes.
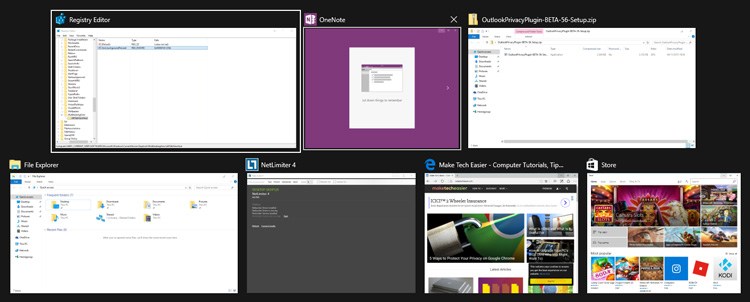
After making the changes, don’t forget to restart or re-log in to your system to make sure the changes take effect. From this point forward, the alt-tab background will be completely solid.
As you can tell from the entered values, “0” represents complete transparency, and “100” represents no transparency. i.e. a solid background. So to increase or decrease the transparency, all we have to do is use a value that is in between 0 and 100. For instance, if I use 50 as the Value Data, 50% transparency will be applied to the alt-tab background.
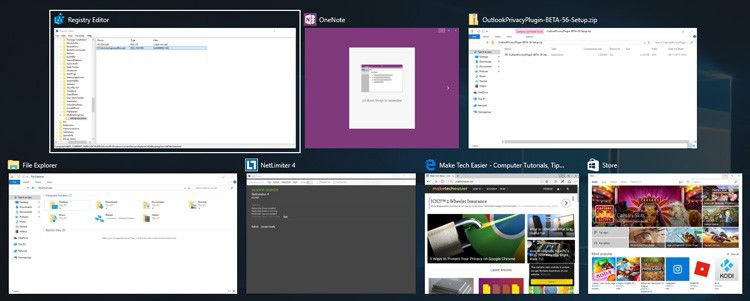
To restore default transparency, simply delete the newly-created DWORD value.
Do comment below sharing your thoughts and experiences about using this method to change the alt-tab background transparency in Windows 10.
Vamsi is a tech and WordPress geek who enjoys writing how-to guides and messing with his computer and software in general. When not writing for MTE, he writes for he shares tips, tricks, and lifehacks on his own blog Stugon.
Subscribe to our newsletter!
Our latest tutorials delivered straight to your inbox
Sign up for all newsletters.
By signing up, you agree to our Privacy Policy and European users agree to the data transfer policy. We will not share your data and you can unsubscribe at any time. Subscribe
