The System Restore feature in Windows allows you to create restore points when performing major changes like installing or uninstalling software and drivers, changing system settings, modifying the registry, changing policy settings, etc. These system restore points allow you to go back and restore your system to what it was before you made the changes. By default, Windows has a built-in tool to create system restore points.
To manually create a restore point, search for “Advanced System Settings,” navigate to “System Protection,” select your operating system drive from the list, and click on the “Create” button. As you can see, creating a restore point is not complicated but is not easy either as it is buried deep in advanced settings. Moreover, due to the lack of any additional options, you cannot manage the restore points using the built-in tool. So, if you are looking for better tools to quickly create and manage system restore points, here are some of the best ones you can try.
1. Restore Point Creator
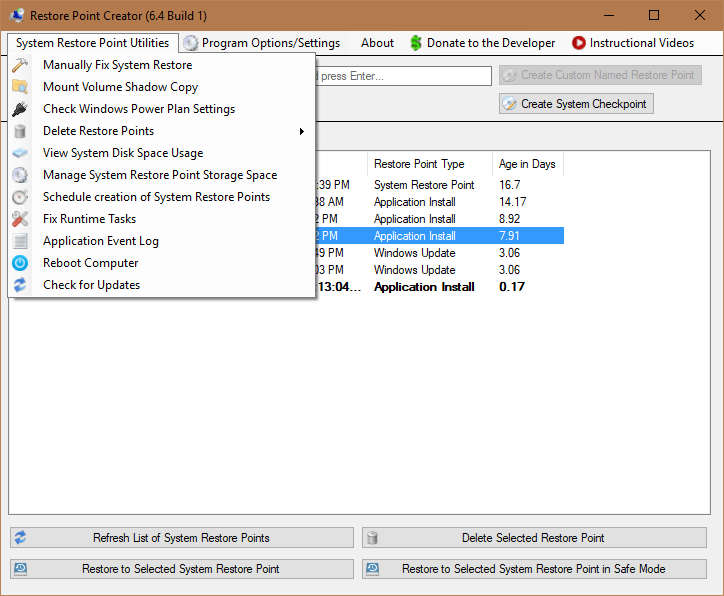
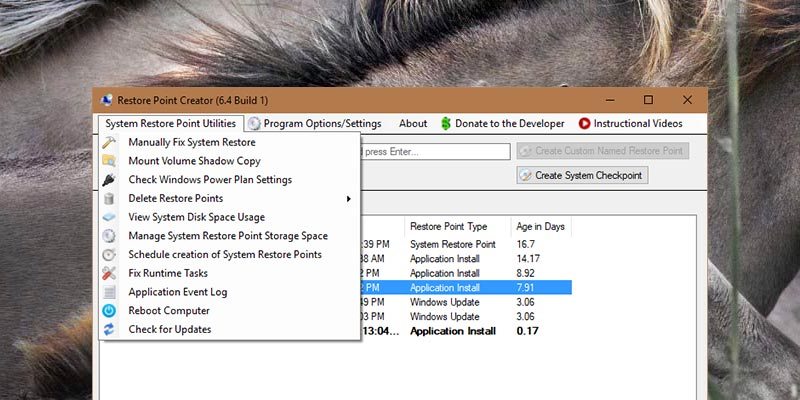
Restore Point Creator is one of the best tools and provides many advanced options to create and properly manage the restore points in Windows. Other than making it easy to create restore points, you can view previous restore points, delete individual restore points, create restore points with custom names, schedule restore point creation, manage space used by the restore points, auto delete old restore points, etc. Most of all, you can mount the restore point’s shadow copy to browse through it and can also fix any corrupted restore points with just a few clicks. Due to all the options and advanced settings, the user interface may look a bit intimidating. But if you are looking for a full-fledged System Restore manager, Restore Point Creator is the best way to go.
2. Quick Restore Maker
If you don’t need all the advanced options and just want to create a restore point with a single click, then Quick Restore Maker is for you. The good things about this software is that it is free, portable, and has no advanced or confusing options. Just download the software, extract, and execute the .exe file to open it. Once opened, click on the “Create Restore Point” button.
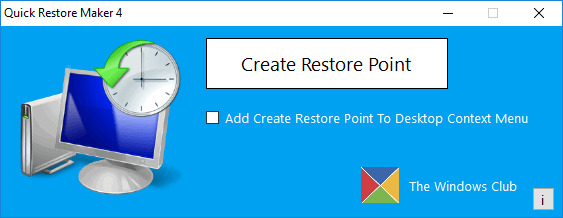
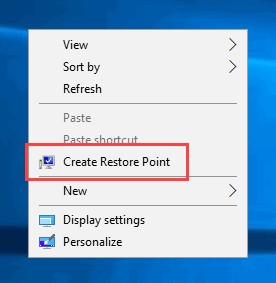
To make things a bit easier, you can add the “Create Restore Point” option to the Desktop context menu. To do that simply select the checkbox “Add create restore point to desktop context menu” and the option will be added instantly.
3. System Restore Explorer
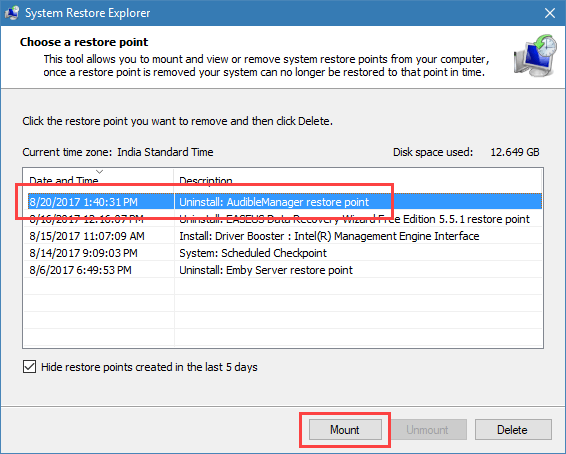
If you are comfortable creating restore points using the built-in Windows tool but would like to manage those restore points, then System Restore Explorer is for you. This simple tool lets you mount the shadow copies right in your File Explorer, and you can delete individual restore points as needed. The best parts about System Restore Explorer are that it is free, lightweight, and also shows you how much space is being used by all the restore points in your system. If you are simply looking to manage the restore points in your system, give this software a try.
Do comment below sharing your thoughts and experiences about using the above software to create, manage, and delete system restore points in Windows.
Vamsi is a tech and WordPress geek who enjoys writing how-to guides and messing with his computer and software in general. When not writing for MTE, he writes for he shares tips, tricks, and lifehacks on his own blog Stugon.
Subscribe to our newsletter!
Our latest tutorials delivered straight to your inbox
Sign up for all newsletters.
By signing up, you agree to our Privacy Policy and European users agree to the data transfer policy. We will not share your data and you can unsubscribe at any time. Subscribe
