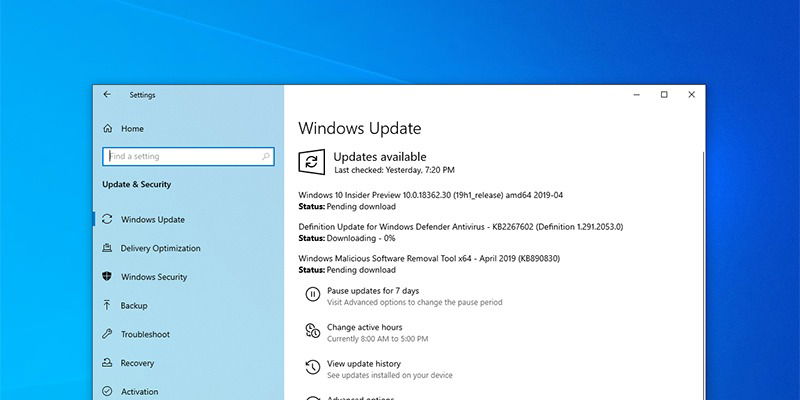
Windows 10 updates itself automatically. For the most part, the updates won’t cause any problems. However, from time to time the update may contain bugs that can make your system unbootable. Generally, in those situations, you are forced to use the System Restore tool. However, the System Restore feature is disabled by default. Unless you manually enable the feature, there is no way you can restore the system to a known good state.
Thankfully, Microsoft recently added a new feature that allows you to uninstall updates from the advanced startup screen. Let’s look at how to do that.
Two Kinds of Windows 10 Updates
Starting from Windows 10, Microsoft is offering two kinds of updates: Quality Updates and Feature Updates. When you are trying to uninstall an update from Windows 10, it is better to know what those updates actually mean.
Quality Updates: Quality Updates are also known as Cumulative Updates; you will receive them almost every week. These quality updates contain security fixes, bug fixes, and other quality and stability improvements. You can easily identify these updates using their KB numbers. If you want to, you can go to the Microsoft Update Catalog and search for your current Windows 10 version to see the latest quality update KB number.
Feature Updates: Feature Updates are major Windows 10 updates that are released twice a year. For instance, the current 1809 update and the upcoming 1903 update are referred to as feature updates. In general, the feature updates contain new features and user interface improvements.
Also read: Latest Windows Update Problems and How to Fix Them
Uninstall Update When PC Is Not Booting Up
To uninstall Windows updates when the computer is unbootable, we need to access the advanced startup settings. You can do that using the Windows 10 installation media. Have your Windows 10 bootable drive ready. If you don’t have one, you can easily create one by downloading the ISO from the Microsoft website and using free software like Rufus.
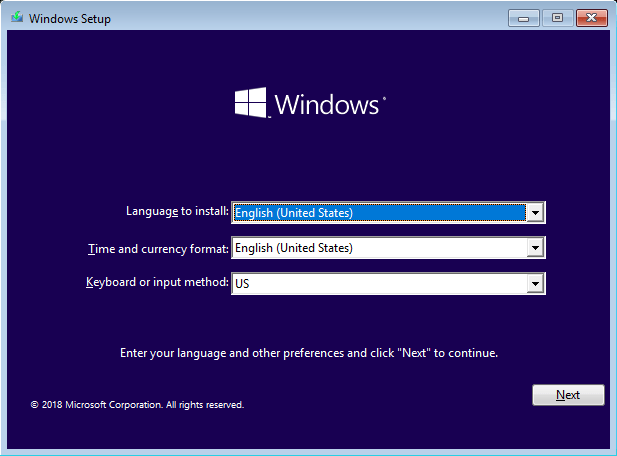
1. First, insert the Windows 10 installation media, start your PC and boot into it. On the main installation screen, click on the “Next” button.
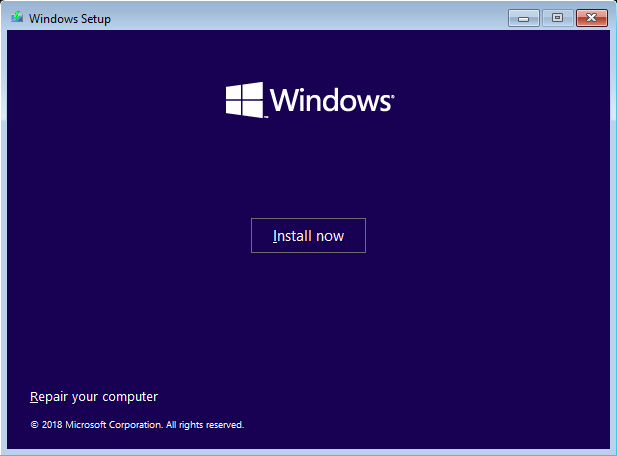
2. Since we want to access the advanced startup options, click on the “Repair your computer” link appearing at the bottom-left corner of the window.
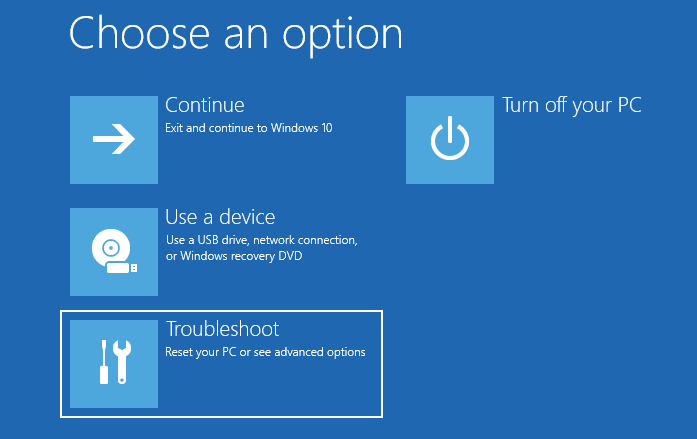
3. The above action will take you to the advanced startup screen. Here, select the “Troubleshoot” option.
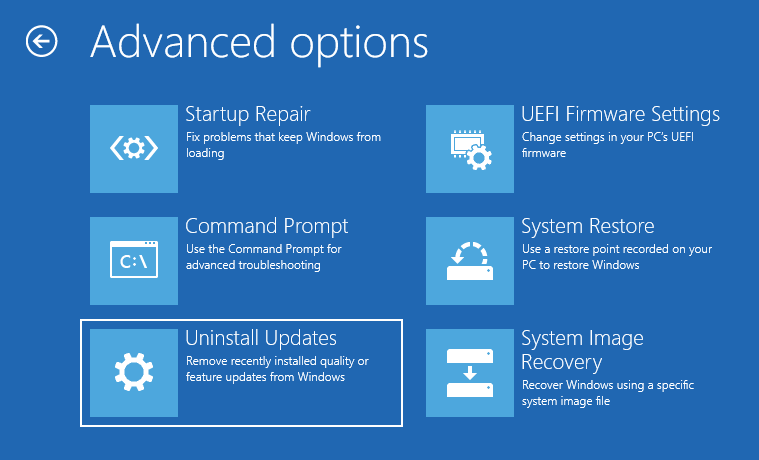
4. In this screen select the “Uninstall Updates” option.
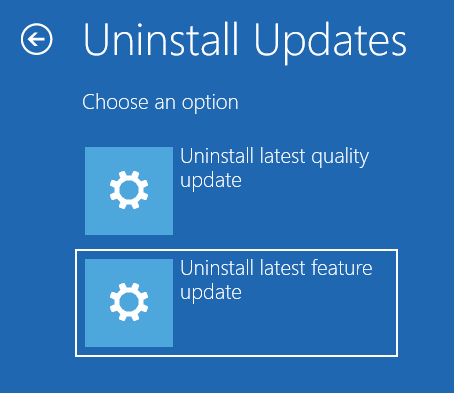
5. If you want to uninstall regular Windows 10 quality updates, then select “Uninstall latest quality update” option. To uninstall the latest feature update, select “Uninstall latest feature update.” In my case, I want to uninstall the feature update, so I selected the second option.
Also read: 4 Ways to Stop Windows 10 Forced Updates
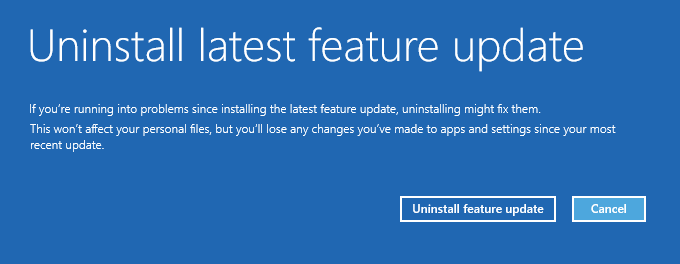
6. You will now see a confirmation screen. Simply click on the “Uninstall feature update” or “Uninstall quality update” button.
7. As soon as you click on the button, Windows 10 will scan your system and uninstall the latest update. You might be prompted to enter your username and password to continue.
8. After the update has been successfully uninstalled, the computer will reboot automatically.
Comment below sharing your thoughts and experiences about using the above method to uninstall the Windows 10 update when it is not booting.
Vamsi is a tech and WordPress geek who enjoys writing how-to guides and messing with his computer and software in general. When not writing for MTE, he writes for he shares tips, tricks, and lifehacks on his own blog Stugon.
Subscribe to our newsletter!
Our latest tutorials delivered straight to your inbox
Sign up for all newsletters.
By signing up, you agree to our Privacy Policy and European users agree to the data transfer policy. We will not share your data and you can unsubscribe at any time. Subscribe
