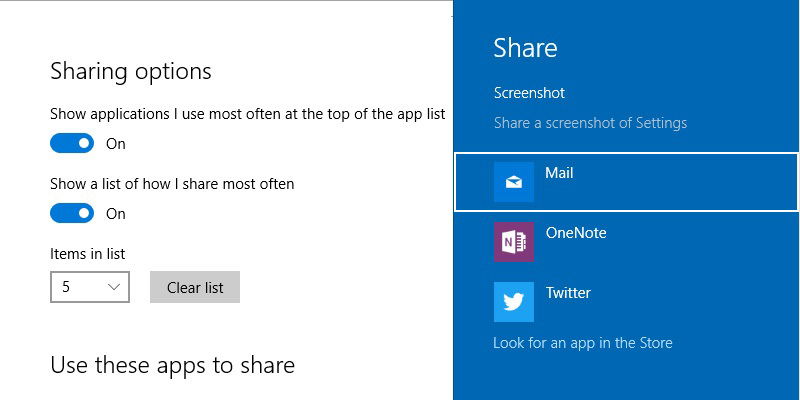
The new Share feature in Windows was first introduced in Windows 8, and not much has changed in Windows 10. This feature enables you to share documents, emails, images, and other files directly from Windows itself using the Share charm. In fact, most modern apps in Windows 10 make use of this feature to allow users to share things quickly. As good as it is, by default, there is no way to customize what options you see in the Share menu. Microsoft, for whatever reason, chose to hide the customization options. However, you can easily enable it with a simple registry tweak. The following is how to enable the Share settings page in Windows 10.
Check Your Windows Version
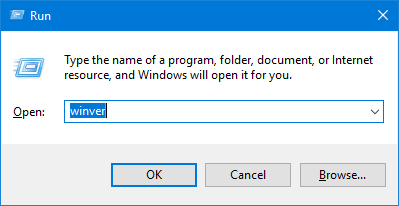
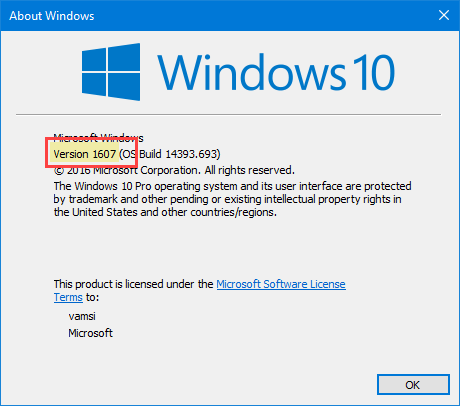
One thing you need to know before proceeding is that this trick only works in Windows version 1607 and up. If you don’t know what version you are using, simply press Win + R, type winver and press the Enter button.
This action will open the “About Windows” window. Here you will see your current Windows 10 version number. As you can see, I’m using Windows 10 version 1607.
Enable Hidden Share Settings Page – (Registry Method)
Note: before proceeding, make sure that you have a good backup of your Registry. This allows you to roll back if anything bad happens.
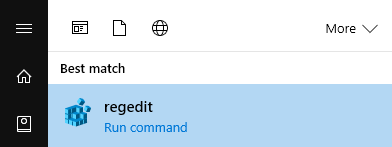
Enabling the hidden share settings page in Windows 10 using the Registry is pretty easy. To start, search for “regedit” in the start menu and open it.
Once the Registry Editor has been opened, navigate to the following location:
HKEY_CURRENT_USERControl Panel
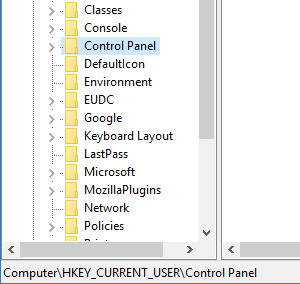
Select the “Control Panel” key on the left pane, right-click on the right panel and select the “New” option and then “DWORD (32-bit) Value.”
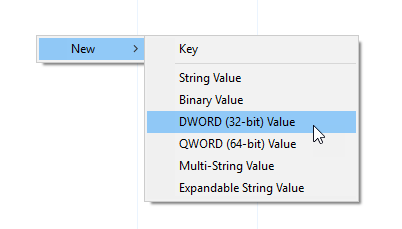
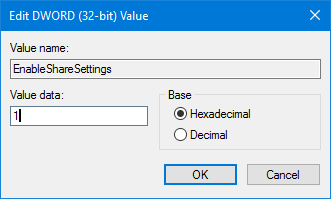
The above action will create a new blank DWORD value. Name the new value “EnableShareSettings,” and press the Enter button on your keyboard.

By default, the new DWORD value will have “0” as its value data. To change that, double-click the value, enter the Value Data as “1” and click on the “OK” button to save the changes.
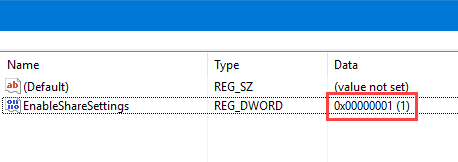
This is how it looks when you are done with the changes.
Just restart your system and you are good to go. To see the new Share settings page, click on the Notifications Icon and then select the option “All Settings.” Alternatively, you can also use the keyboard shortcut “Win + I” to open the Windows 10 Settings app.
In the Settings app, navigate to “System.”
Once you are here, you will see a new option called “Share” just below the option “About” in the left panel. If you navigate to the page, you can see the options to enable or disable share items, the number of share options that can appear in a list, etc.

To disable a share item, simply toggle the button next to it.
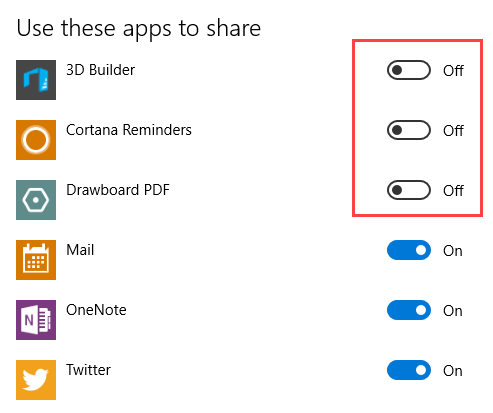
If you ever want to revert back, simply change the Value Data back to “0” or delete the “EnableShareSettings” value.
Enable Hidden Share Settings Page Using UWT
If you don’t want to meddle with the Registry Editor, you can use the Ultimate Windows Tweaker to do the same thing. Download the application from its official website, extract the folder and execute the .exe file.
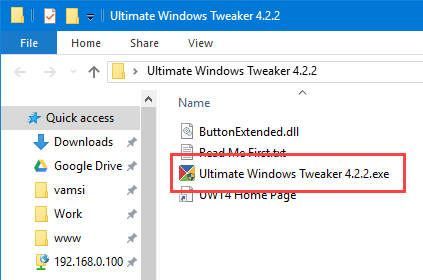
Once Ultimate Windows Tweaker has been opened, navigate to the “Customization” tab in the left panel. Here, select the checkbox “Enable Share Page in Settings,” and then click on the “Apply Tweaks” button.
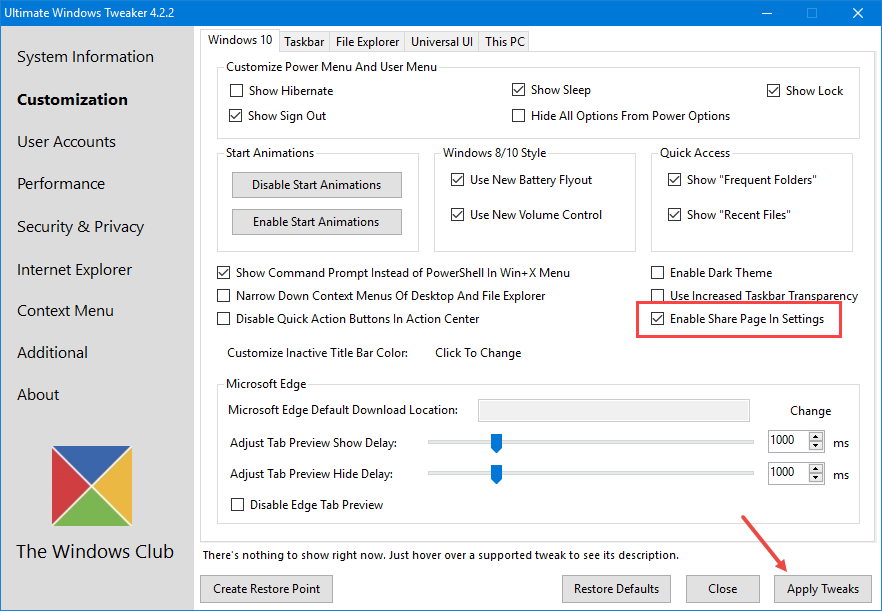
Close the application and restart your system to see the new Share Settings page in the Windows 10 settings app.
To remove the Share Settings page, simply uncheck the option “Enable Share Page in Settings” and apply the tweaks. It is that easy.
Do comment below sharing your thoughts and experiences about using the above method to enable the hidden share settings page in Windows 10.
Vamsi is a tech and WordPress geek who enjoys writing how-to guides and messing with his computer and software in general. When not writing for MTE, he writes for he shares tips, tricks, and lifehacks on his own blog Stugon.
Subscribe to our newsletter!
Our latest tutorials delivered straight to your inbox
Sign up for all newsletters.
By signing up, you agree to our Privacy Policy and European users agree to the data transfer policy. We will not share your data and you can unsubscribe at any time. Subscribe
