Aside from just pressing the buttons on the side of the monitor and hoping for the best, the color calibration tool built into Windows 10 will help you make sure that your monitor is displaying the proper levels of darks, colors, and everything in between. For content producers, it is important to verify that your work will appear the same or similar on all devices; therefore, accurate to industry standards. For the casual user, you will want your movies, games, and photos to look their absolute best.
Before making adjustments with the monitor’s physical buttons and the color calibration tool, reset your monitor to factory color settings and turn off lights in the room to prevent glare. What “looks good” at a glance may not necessarily be accurate. The Color Calibration tool will allow for fine adjustments and proper leveling of various values.
How to Access the Color Calibration Tool
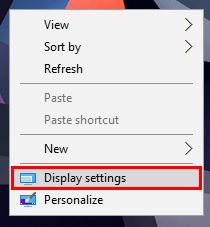
1. Start from your desktop. Right click and select the “Display Settings” option. Alternatively, use Win + I to jump right to settings. From there, select “Display.”
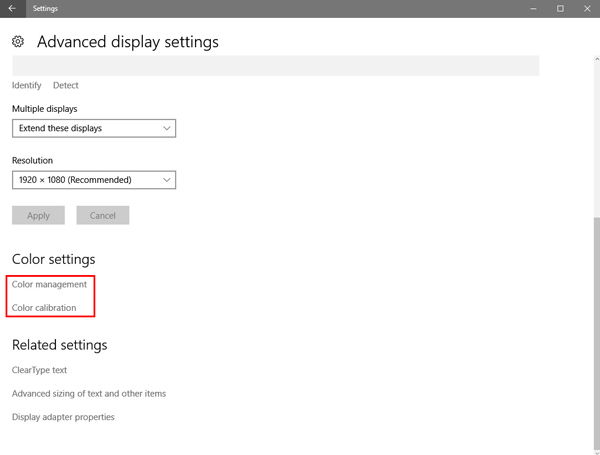
2. The current window will show options for using multiple monitors and adjusting the orientation of your display. To reach calibration, scroll to the bottom of the page and select the option labeled “Advanced Display Settings.”

3. Now you will have the option to select either “Color management” or “Color calibration.”
How to Use Color Management
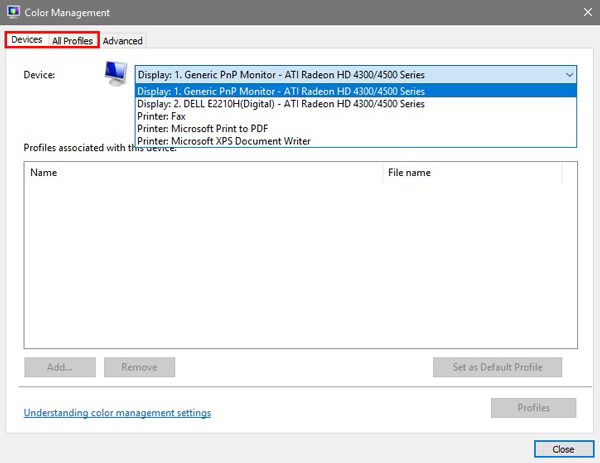
Simply put, “Color management” shows pre-set color profiles for your specific monitor and for all monitors your PC supports. The Devices tab shows your PC’s devices and associated profiles, while the “All profiles” tab shows any available profiles. Click through a few options to see how they appear. This form of calibration will work for some, but for truly accurate results you may wish to create your own color profile by using the color calibration tool.
How to Adjust Colors With The Color Calibration Tool
1. You will use the buttons on your monitor to adjust certain color aspects, and therefore the welcome window should be moved over to the monitor you wish to calibrate first. For those with more than one monitor, they will have to be calibrated separately, even if they are the same make and model. Click “Next” to continue.
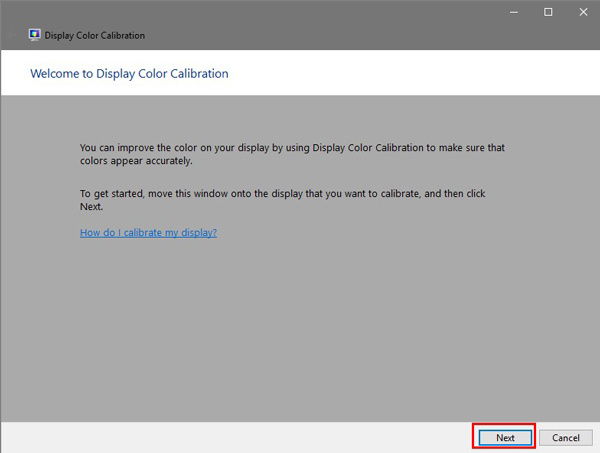
2. Gamma must now be adjusted. As stated by the wizard, gamma controls the amount of light emitted from a specific color. “Good gamma” is has no dot – either dark or light – within each of the four circles depicted. By clicking “Next” you will be able to use a slider on the display to adjust the gamma values. After using the slider, select “Next” again.
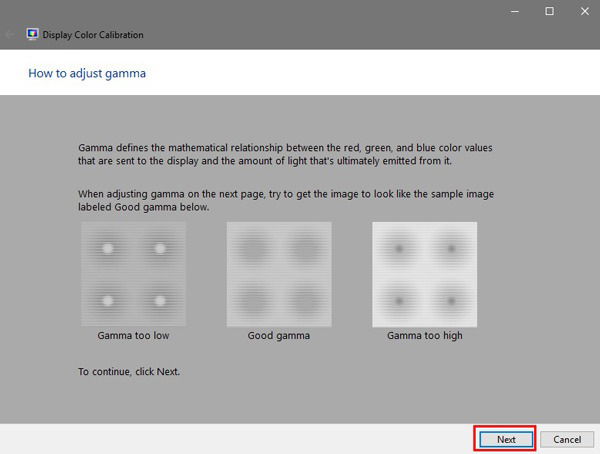
3. Brightness and contrast will be adjusted with the physical buttons on your monitor. On some monitors there are buttons dedicated to brightness and contrast, while on others you will have to select the menu button on the monitor and then find the brightness and contrast settings. To start this process, select “Next.” Use your monitor’s buttons to make the brightness of the image on the next page look like the sample provided. Click “Next” to see the image.

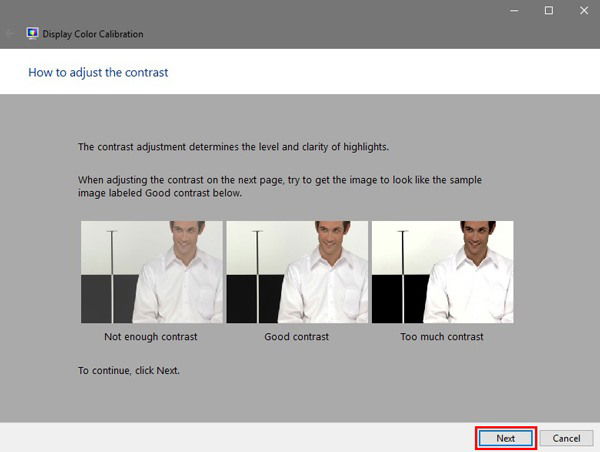
4. Do just as before to adjust contrast. View the sample images and click “Next” to start making adjustments. Click “Next” when you are done.
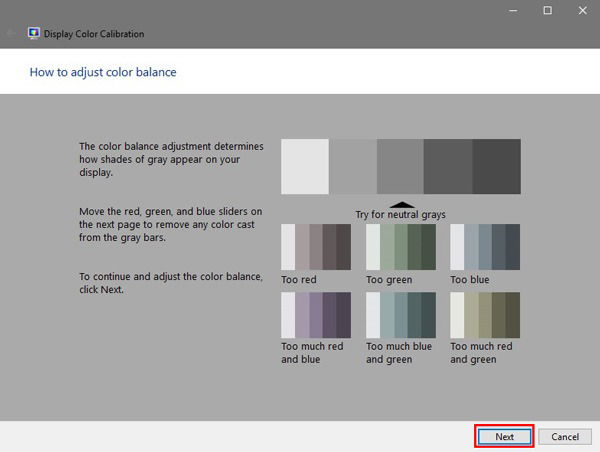
5. With color balance, no color should be “leaking” into the greyscale. Click “Next” to adjust the greyscale using sliders. Once finished with this adjustment, select “Next.”
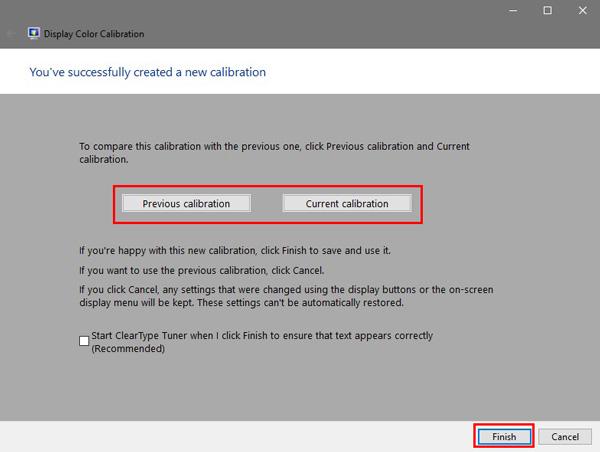
6. You can now switch back and forth between the previous calibration and the current one. If you like it, click “Finish.” Otherwise, select “Cancel.” If you choose to cancel, it is important to reset your display to factory settings!
Further Troubleshooting and Final Thoughts
If colors are still not looking vibrant, it is likely that the PC has a faulty graphics card or that the monitor has gone bad. Attempt using the monitor with another PC. If colors and text appear the same, the monitor is at fault. If colors and text on the new PC appear to look better, then the graphics card will likely need replacing.
All-in-all, taking a moment to calibrate your display will greatly improve the quality of work for videographers, photographers, graphic designers, and for more creative professionals. And it will make your games look great, too. If you are having any issues getting things looking crispy and vibrant, leave a comment below so that we can help.
I’m a junior at UT Dallas, a tech enthusiast, an adreneline junkie, and a coffee fanatic.
Subscribe to our newsletter!
Our latest tutorials delivered straight to your inbox
Sign up for all newsletters.
By signing up, you agree to our Privacy Policy and European users agree to the data transfer policy. We will not share your data and you can unsubscribe at any time. Subscribe
