Starting with Windows 8, every Windows system comes pre-installed with OneDrive app, a free cloud storage service from Microsoft. The story is nothing different in Window 10. If you are already using another cloud service like Google Drive or Dropbox, then chances are that you’ve already installed a relevant app to sync your files and folders with the cloud, and you may want to uninstall OneDrive from your Windows 10 system.
But just like most of the pre-installed apps, there is no point-and-click way to easily uninstall OneDrive from Window 10. That being said, if you ever want to, here is how you can completely uninstall OneDrive from Windows 10.
Uninstall OneDrive from Windows 10
Since there is no easy way to uninstall OneDrive from Window 10, we are going to use the Command Prompt to uninstall it. Before we do that, we need to close the OneDrive application.
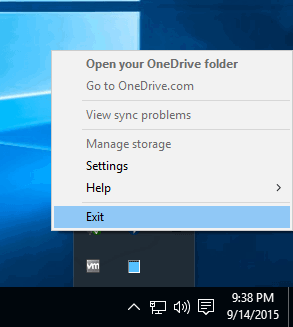
To do that, right-click on the OneDrive icon in the taskbar and select the “Exit” option.
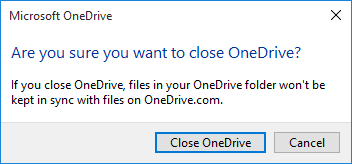
This action will bring forward a confirmation window. Simply click on the “Yes” button to exit the OneDrive app. This action will also kill the OneDrive process. If you are unsure, you can check the same in the “Processes” tab in the Task Manager.
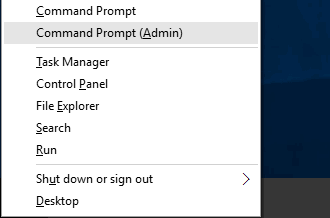
After exiting the OneDrive app, right-click on the Start Menu and then select the “Command Prompt (Admin)” option. Alternatively, you can also Press “Win + X” and then the “A” key on your keyboard.
Once the command prompt has been opened, enter the following command depending on your system architecture.
If you are using a 32-bit system, then use the command below.
%systemroot%System32OneDriveSetup.exe /uninstall
If you are using a 64-bit system, then use the command below.
%systemroot%SysWOW64OneDriveSetup.exe /uninstall

As soon as you execute the command, Windows will uninstall the OneDrive app for good. The Command Prompt won’t output any confirmation message, though.

In fact, if you open Windows Explorer, you can no longer find OneDrive in it. You can also try searching for it in the Start Menu.

Now you can also safely delete all the OneDrive folders in different locations if you don’t want to have any remnants. To do that, open Windows Explorer, select the “View” tab and then select the “Hidden Items” checkbox.

Once the hidden folders are revealed, open the “ProgramData” folder and delete the “Microsoft OneDrive” folder.

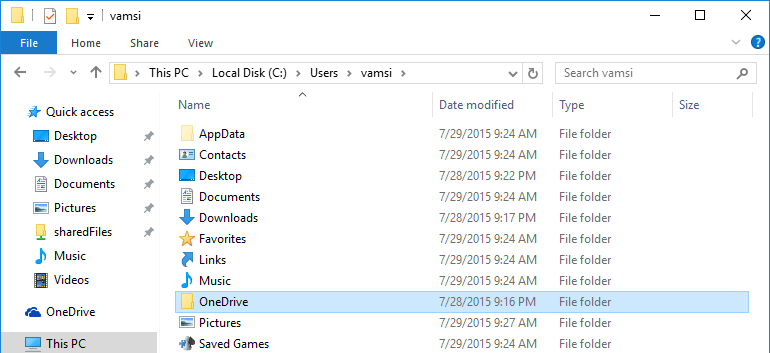
Now, head over to your User Profile folder and delete the “OneDrive” folder. In case you are wondering, the location will be something like “C:UsersyourUserName.”
In the same folder, open the “App Data” folder and navigate to “Local” and then to “Microsoft” folder. Delete the “OneDrive” folder. If you face any problems deleting the folder, then just restart your system and try again.
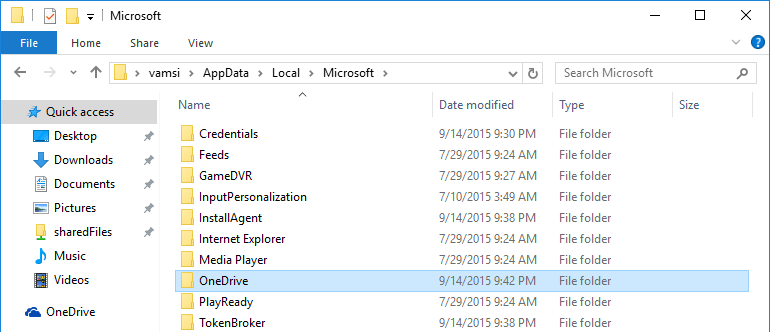
You’ve successfully removed the OneDrive remnants from Windows 10.
In the future, if you want to use OneDrive again, then you can easily reinstall it by executing the below command in the Command Prompt.
For 32-bit systems:
%systemroot%System32OneDriveSetup.exe
For 64-bit systems:
%systemroot%SysWOW64OneDriveSet.exe

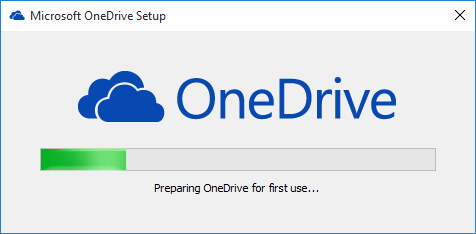
As soon you execute the command, Windows installs OneDrive and you can configure it right away.
Do comment below sharing your thoughts and experiences about using the above method to uninstall OneDrive from Windows 10.
Vamsi is a tech and WordPress geek who enjoys writing how-to guides and messing with his computer and software in general. When not writing for MTE, he writes for he shares tips, tricks, and lifehacks on his own blog Stugon.
Subscribe to our newsletter!
Our latest tutorials delivered straight to your inbox
Sign up for all newsletters.
By signing up, you agree to our Privacy Policy and European users agree to the data transfer policy. We will not share your data and you can unsubscribe at any time. Subscribe
