Windows XP is long gone as Microsoft withdrew its support. But most of us Windows users are still in love with it and are missing the blues and greens of Windows XP. So if you are one of them, here is how you can make Windows 8 look like Windows XP.
Note: Since we are going to meddle with the system files, this article is not intended for beginners. Don’t forget to have a good backup of your files before proceeding.
1. Get Back the Classic Start Menu
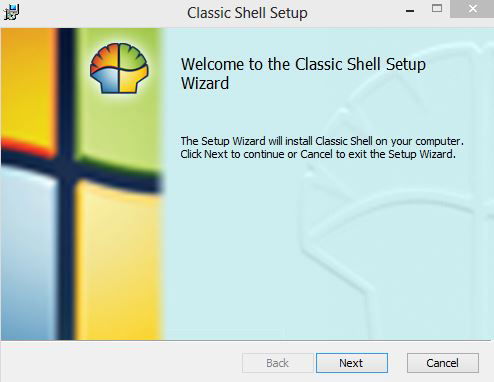
The first thing to do in the process is to swap the Windows 8 start screen with the regular start menu. While there are many start menu replacement apps, the one I recommend is Classic Shell as it is much more easier to use. You can install it like any other Windows software. Once installed, launch the application.
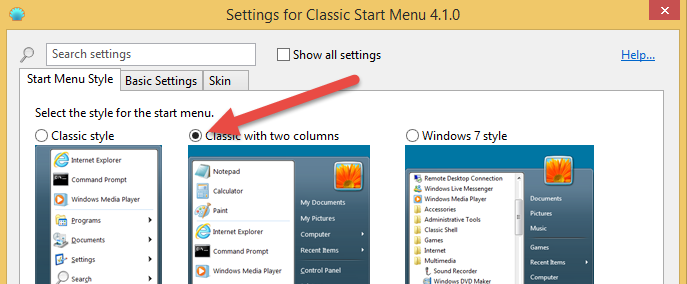
Classic Shell offers different kinds of start menus. Since we are going to mimic Windows XP, select the radio button “Classic with two columns.”
The default start menu icon supplied by the Classic Shell doesn’t resemble the Windows XP start menu button, so download the start menu images from here. Select the check box “Replace start button,” select the radio button “Custom,” click on the button “Pick Image” and select the image you just downloaded. Also, don’t forget to change the taskbar settings to use small icons in the taskbar.

2. Patch Windows Theme Files
By default, Windows doesn’t give you much room to play with Windows themes, so we need to patch it before applying the actual Windows XP theme. To do that, download and install UXThemePatcher.
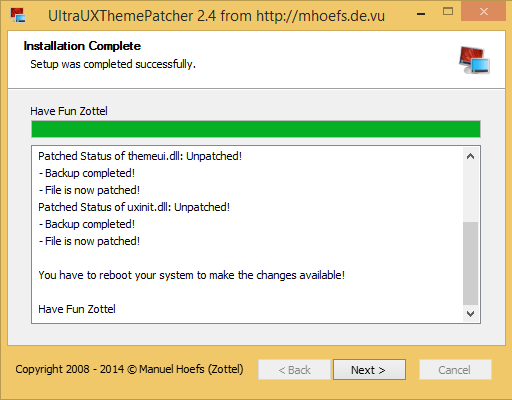
What this software does is patch the Windows theme engine files so that you can use any of the third party themes. Once the installation of UXThemePatcher is completed, restart your system so that the changes you just made will take effect.
3. Install Windows XP Theme
Just like the start menus, there are many Windows XP themes. But Royal VS is the one that you can get as close as possible with minimal effort. Download Royal VS, and once you have, unzip and install the application. While you are installing, the installer itself provides the necessary steps and you can safely ignore them. If you want to have slightly rounded windows corners, then try installing Glass8.
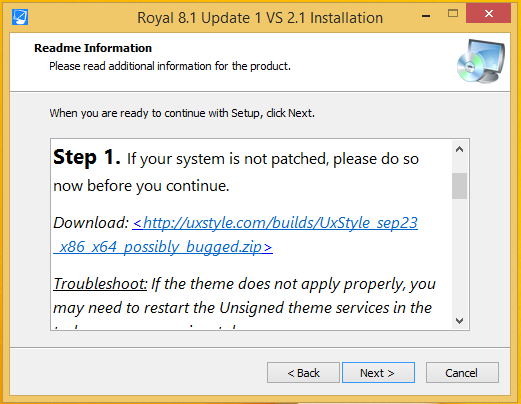
Note: If you are installing Glass8, then uncheck the check box “Install glass shiny atlas resource” while you are installing. Otherwise, the Windows XP theme may not work properly.
Once the installation is completed, right-click on the desktop, select “Personalization” and select the theme “Royale 8.1 Update 1.”
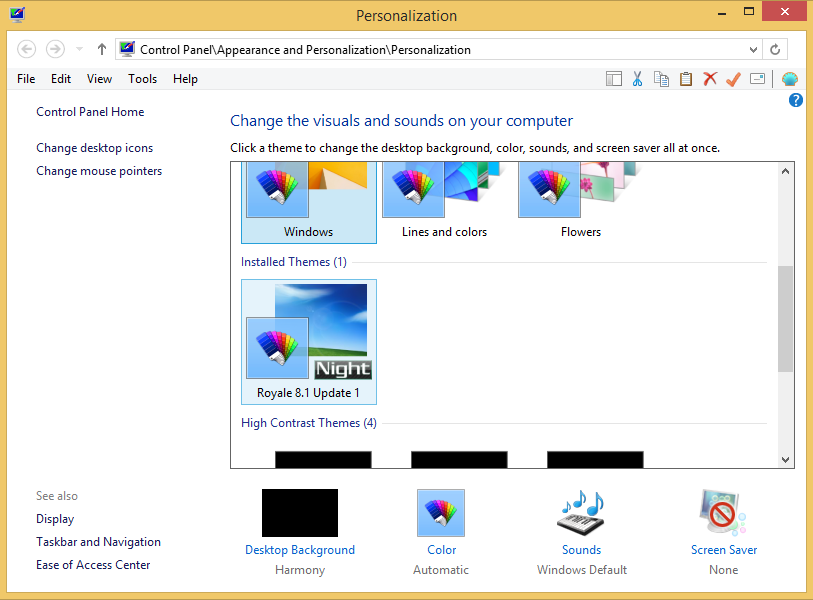
That’s all there is to do. You can now enjoy the good old Windows XP style in Windows 8/8.1.
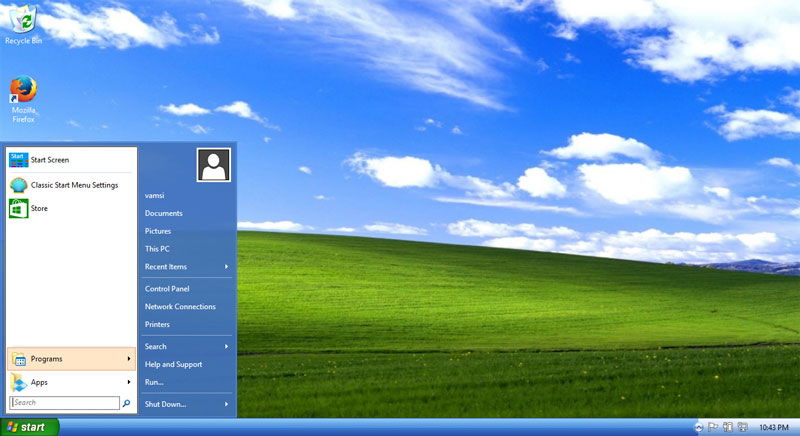
Hopefully that helps, and do comment below sharing your thoughts and experiences on this Windows XP theme for Windows 8.
Vamsi is a tech and WordPress geek who enjoys writing how-to guides and messing with his computer and software in general. When not writing for MTE, he writes for he shares tips, tricks, and lifehacks on his own blog Stugon.
Subscribe to our newsletter!
Our latest tutorials delivered straight to your inbox
Sign up for all newsletters.
By signing up, you agree to our Privacy Policy and European users agree to the data transfer policy. We will not share your data and you can unsubscribe at any time. Subscribe
